How to create editable and powerful Tables
Learn how to configure tables from which you can edit Bonita data, display dynamic values, and many other things.
-
Difficulty: beginner
-
Estimated time: 20 minutes
-
Prerequisites: have a Table widget bound to the following API request which lists users:
-
Name: getUser -
Method: GET -
URL: /bonita/API/identity/user -
Params:-
Key: c -
Value: 20 -
Key: p -
Value: 0
-
-
This Table widget and its data will be used as example in this guide.
Create columns with dynamic values
As you might be using Bonita UI Builder to create applications that answer complex business needs, you will probably want to add new columns with dynamic values.
Via JavaScript objects
Let’s say you want to add a column whose values are a multiplication of two other columns.
First, go to the JS tab (between the Queries and UI tabs), create a new JS object called Calculation and copy/paste the following code:
export default {
    calculate: (num1, num2) => {
        var calculation = num1*num2;
        return calculation;
    }
}
Click the Table widget (which displays the list of Bonita users). Then click add new column, click the wheel icon to customize it and copy/paste the following code in the Computed value zone: {{Calculation.calculate(currentRow.manager_id,currentRow.id)}}
Without JavaScript objects
You don’t always need JS objects to create dynamic columns. Let’s say you want to create a Gender column whose value depends on whether the title is Mrs or Mr.
In a similar way to what was done in the previous example, create a Gender column, click the wheel icon, and copy-paste the following code:
{{currentRow.title === "Mr" ? "male" : "female"}}
How to dynamically configure cells' color
You might also want your Table’s cells to have different background colors, defined according to specific conditions.
Let’s say you want to color cells depending on the user’s title.
Click the wheel icon next to the title column, go to the Style tab, click the JS icon next to Cell background and add the following code:
{{currentRow.title === "Mrs" ? "#fce7f3" : "#dbeafe"}}
You can also trigger conditions on numbers, for example, if the user’s id is superior or equal to 35: {{currentRow.id >= 35 ? "#fce7f3" : "#dbeafe"}}
Create an editable table that can interact with your Bonita data
Editing your data directly from a Table has just become easy with Bonita UI Builder.
Let’s create a table from which we can edit a user’s first name, and propagate these changes to your actual Bonita users.
1. Create an update request
Go to the Queries tab and create the following query:
-
Name: updateUser -
Method: PUT -
URL: /bonita/API/identity/user/{{Table1.triggeredRow.id}} -
Params:-
Key: c -
Value: 20 -
Key: p -
Value: 0
-
-
Body:
{
  "firstname": {{Table1.triggeredRow.firstname}}
}
This request updates the user’s firstname with the Table’s cell content.
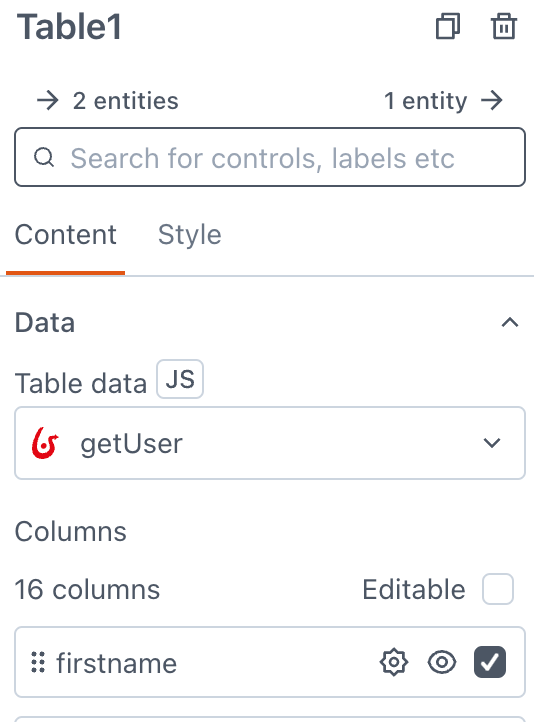
2. Allow the Table to edit users
Select the Table widget and click the box next to firstname to make it editable:
A Save / Discard column then appears. Click the wheel icon next to “Save / Discard” to customize it.
Then, click the + icon next to onSave, select Execute a query and select updateUser.
The Table can now update the user’s fistname after clicking Save.
You can also make the firstname column editable under conditions.
Click the wheel icon next to firstname, then click the JS icon next to Editable and copy/paste the following code:
{{currentRow.title === "Mrs" ? true : false}}.
This makes it editable only if the user is a Mrs.
|

Make a component visible under conditions
Your applications can quickly get complex and dense. In this situation, widgets' visibility can be controlled in many ways.
Let’s say we want to display a form whenever last_connection cells are empty.
To do so, drag and drop a form widget, click the JS button next to Visible and copy/paste the following code:
{{Table1.selectedRow.last_connection === "" ? true : false}}