Create an interface
Once you have downloaded and launched Bonita UI Builder, it’s time to create an interface.
To do so, we will create a new application and move visual elements (also known as widgets) on the screen. On this page, we will try to create a form where customers can submit a claim. This is inspired by the Getting Started tutorial’s example.
Prerequisites
-
Bonita UI Builder downloaded and launched
-
A working Bonita project with a defined process diagram, BDM, and contract. Follow the Getting Started tutorial if you need any help
Create a new application
From Bonita UI Builder’s home page, click the top right Create new button. Then, select Application.
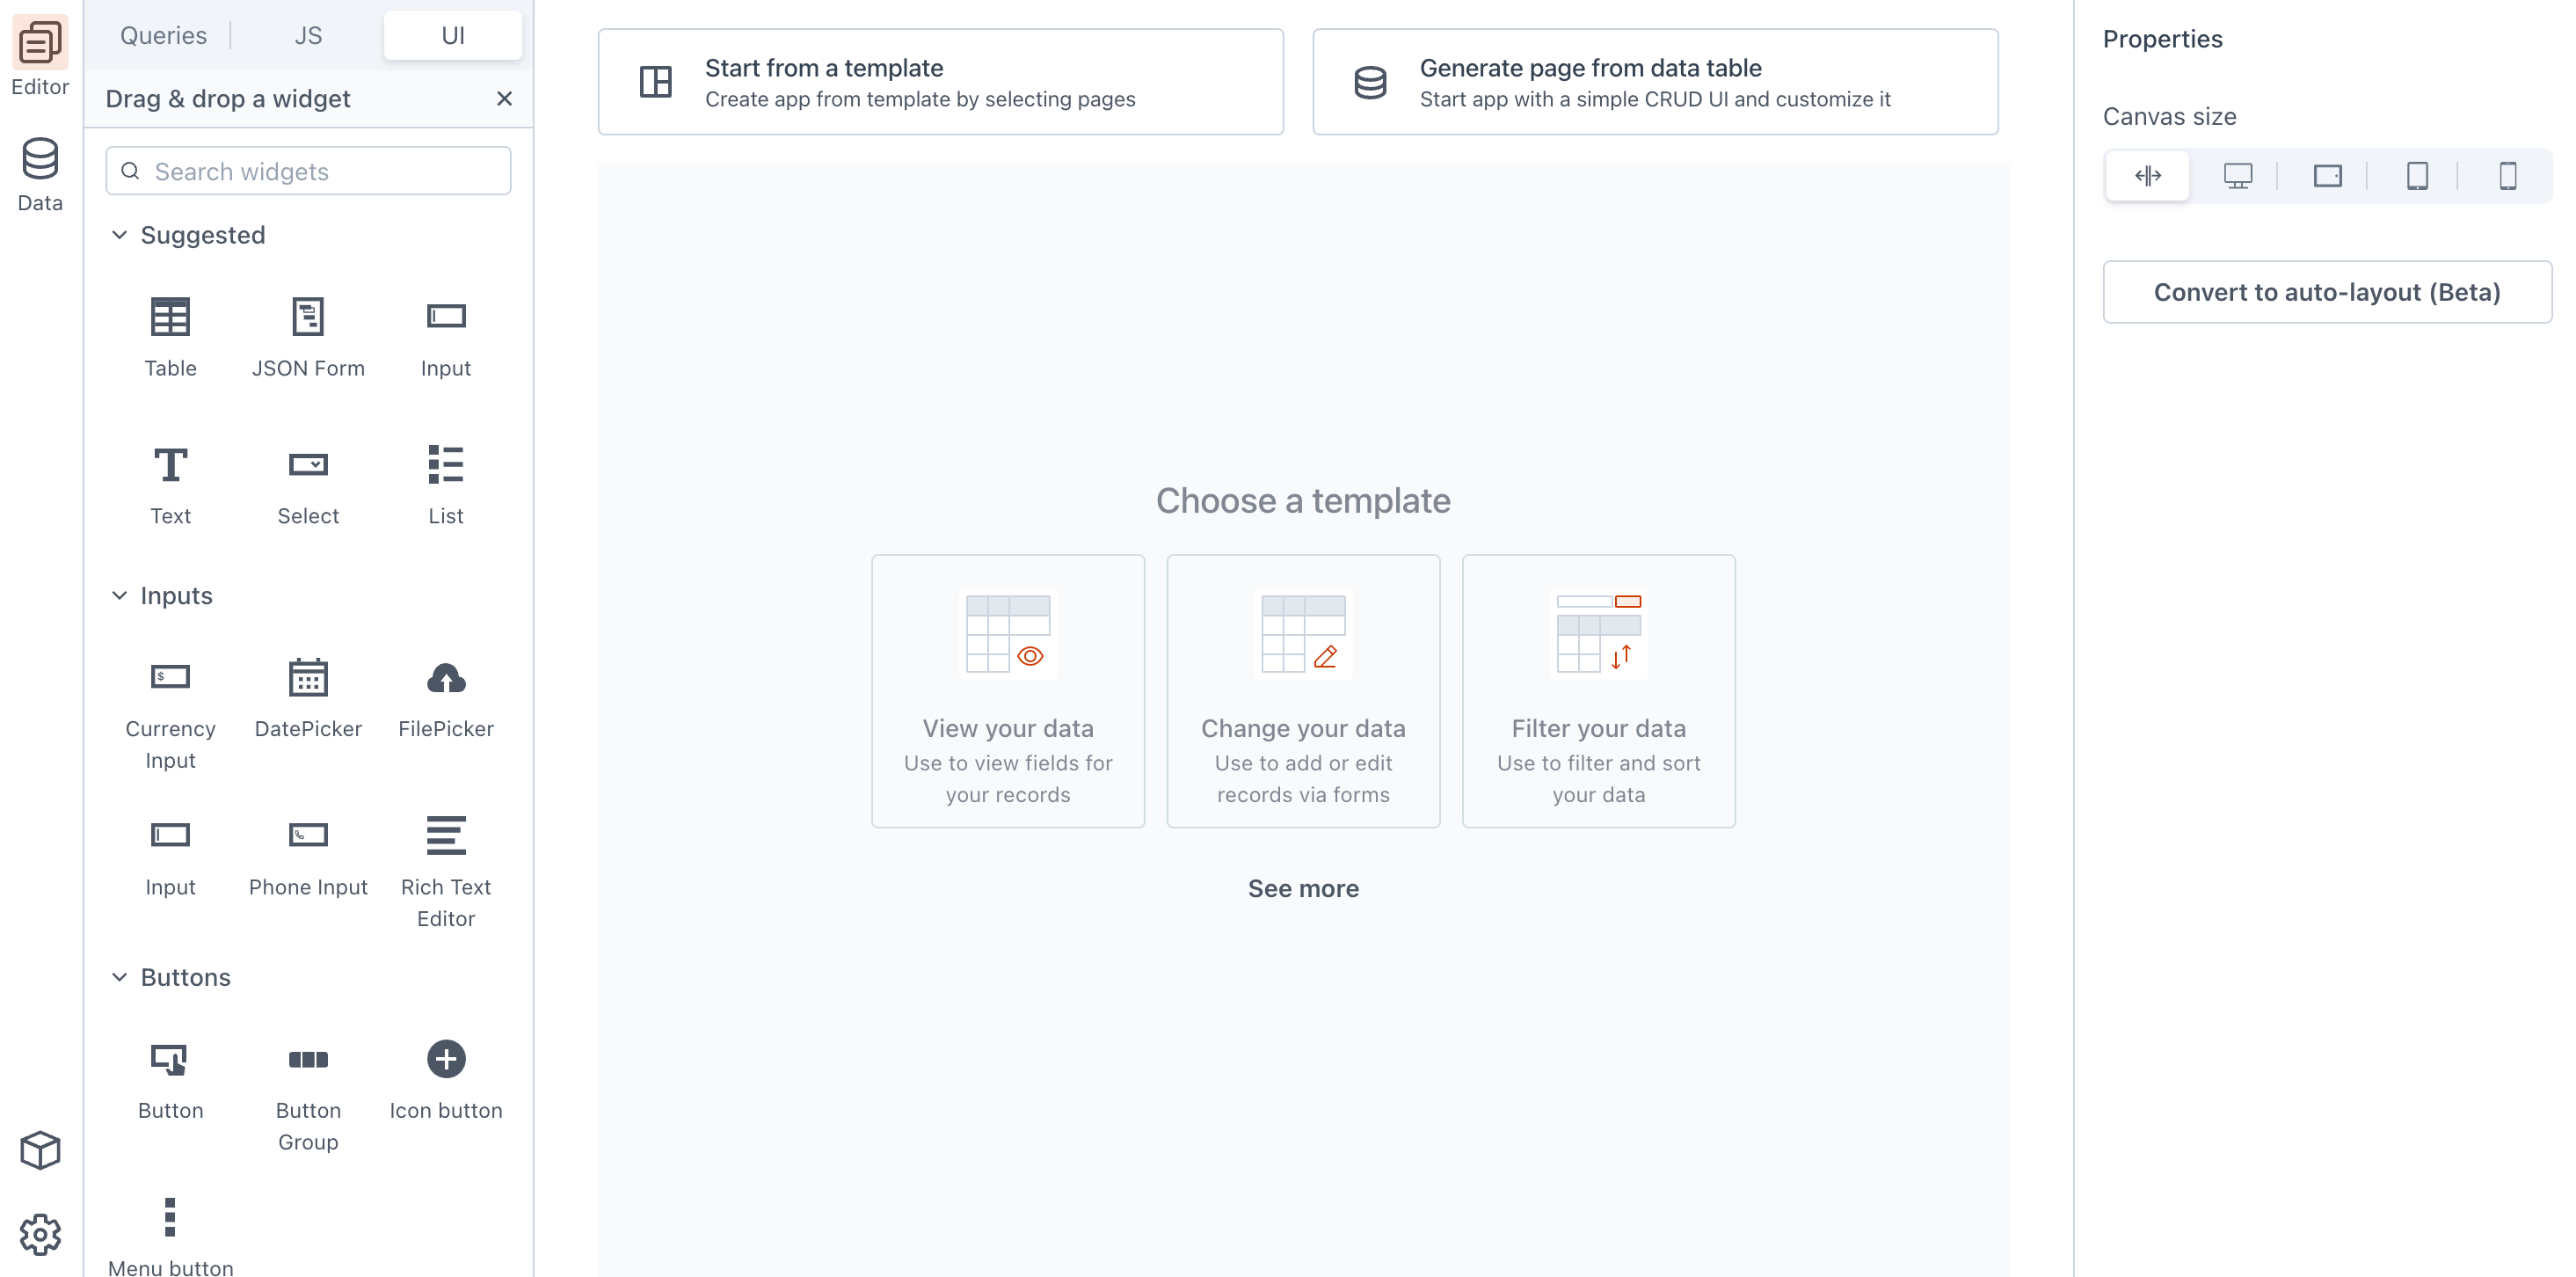
You land on the design interface:

On the left part can be found all widgets (visual elements) that you can drag and drop anywhere you want on the central part.
This is also where you can define your API requests (Queries tab) that will help you connect your widgets to your Bonita process, see next section for more details.
On the right part, you can configure your widgets' properties as well as preview how the interface renders on different screen size.
The central part is the canvas where you set visual elements and define what your interface will look like.
Design the interface
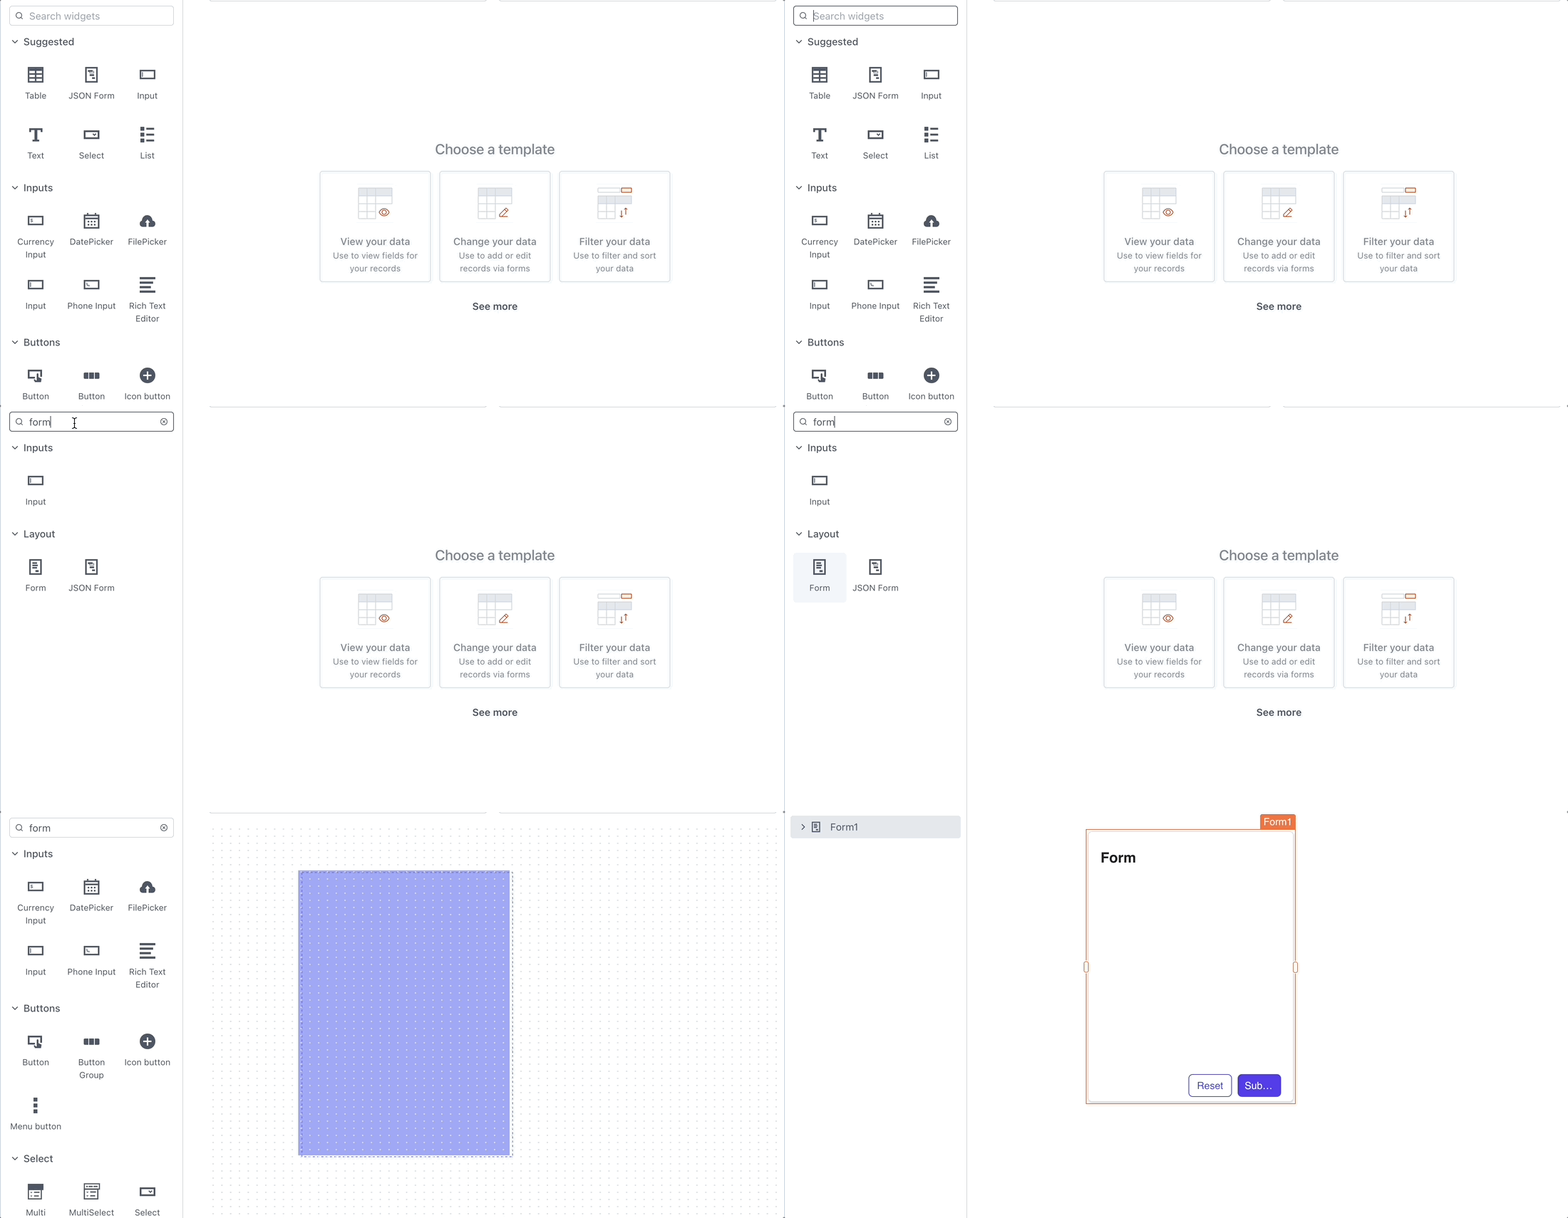
Select a form widget, and drag and drop it on the central part:

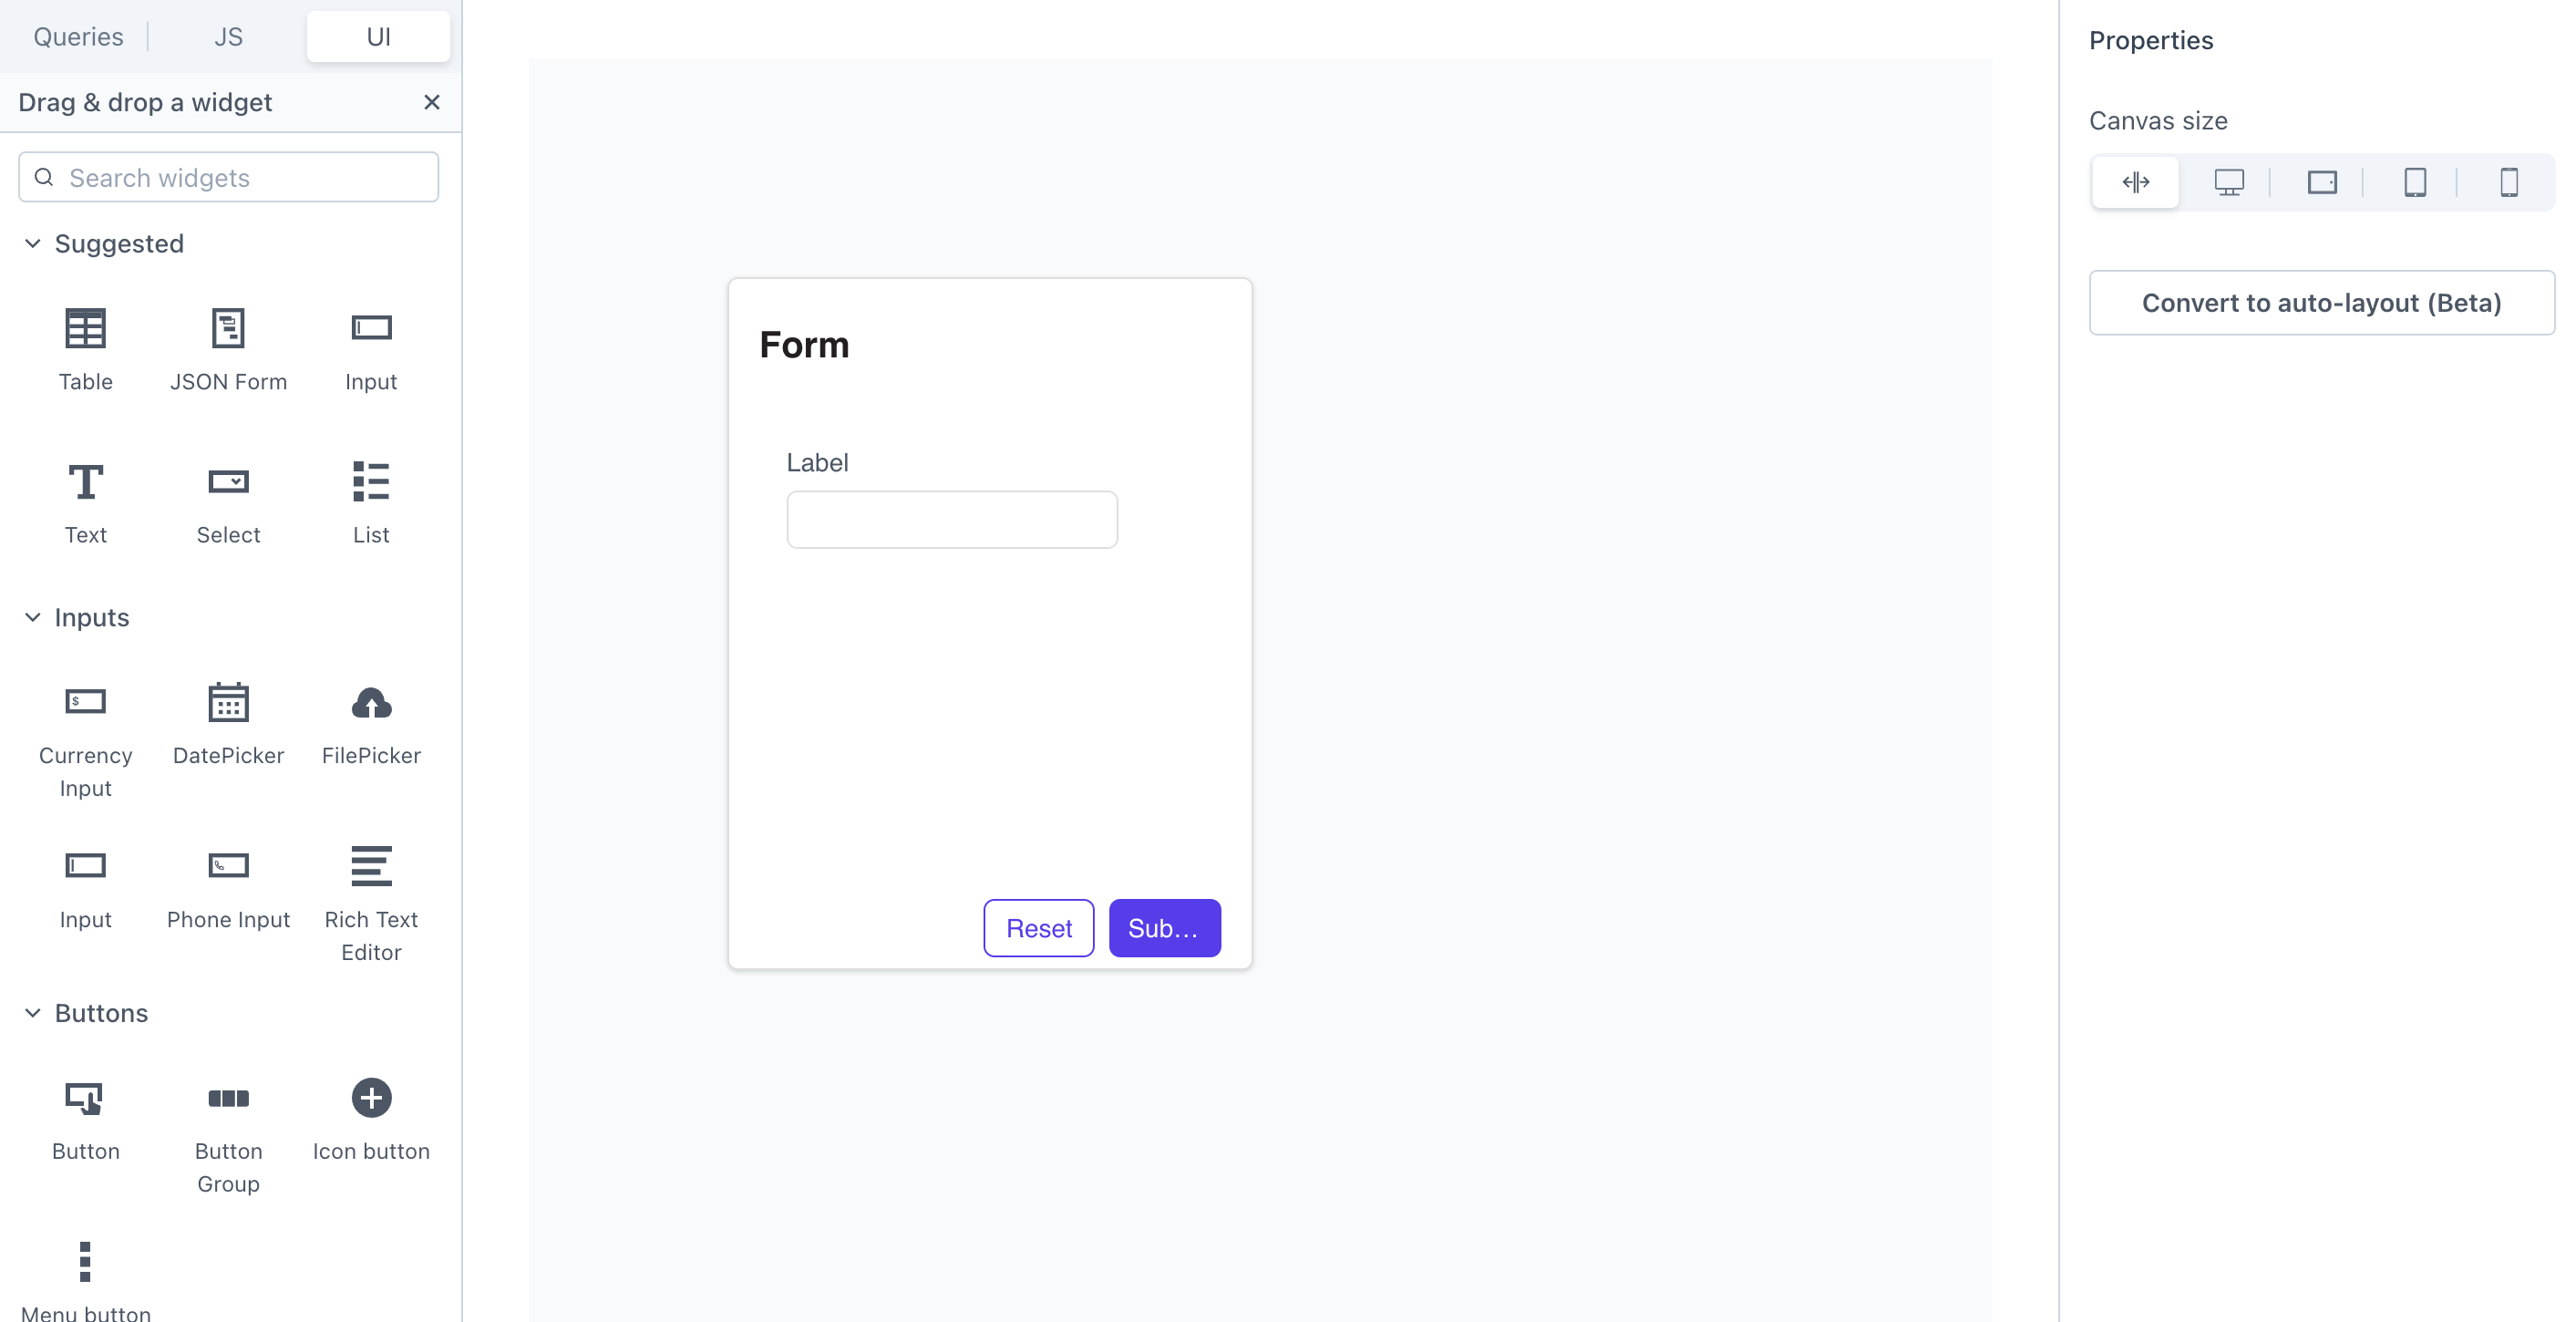
Now, drag and drop an input widget inside the form widget. This is what it should look like:

Your first interface is designed!
In the next section, we’ll see how we can connect this interface and its elements to your Bonita project, so that it allows for submitting a claim and creating a process instance.