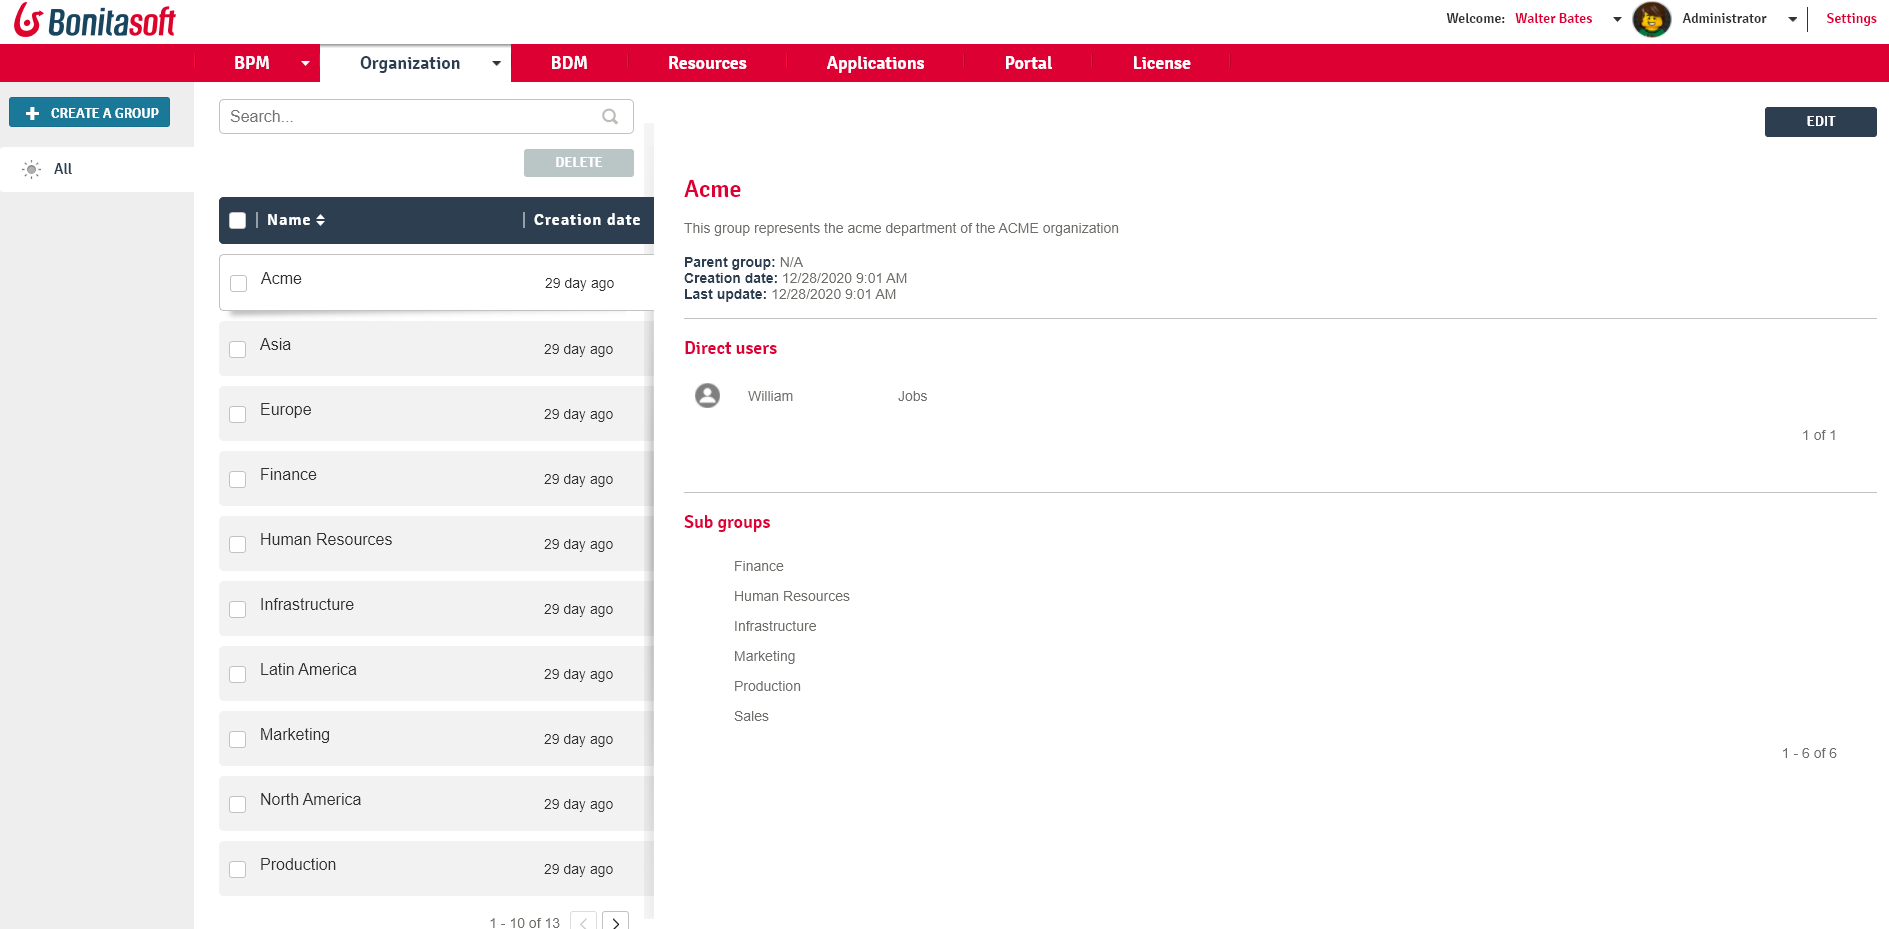
Administrator Group list in Bonita Portal
Groups can be defined in the organization, attached to users and used to map process actors or application profiles with the organization.
Here is a view of this page:
Create a group
-
Go to Organization/Groups
-
Click on Create a group
-
In the pop-up window, enter the name (required), the parent group and a description.
-
Click on Create.
|
Bonita doesn’t accept the '/' character in the group name field. A group name that contains a '/' may lead to unstable behaviour. |
Assign a user to a group
-
Go to Organization/Users. The list of users in the organization will be displayed.
-
Click on a user.
-
Click on More
-
In Memberships, click on Add.
-
Choose the group and role for the user.
-
Click on Add.
Edit a group
-
Go to Organization/Groups.
-
Check a box to select a group.
-
Click on Edit.
-
In the popup window, update the group information.
-
Click on Save.