Analytics and Reports in Bonita Portal
This page explains what a user with the Administrator profile in Bonita Portal can see and do about reports.
Those users can view statistics and reports of process execution in order to extract meaningful data and monitor how the process are performing, to pinpoints areas of improvements or satisfaction.
A report presents the Administrator with data about the usage of cases and tasks in processes.
|
For Subscription editions only. |
Here is a view of the page:
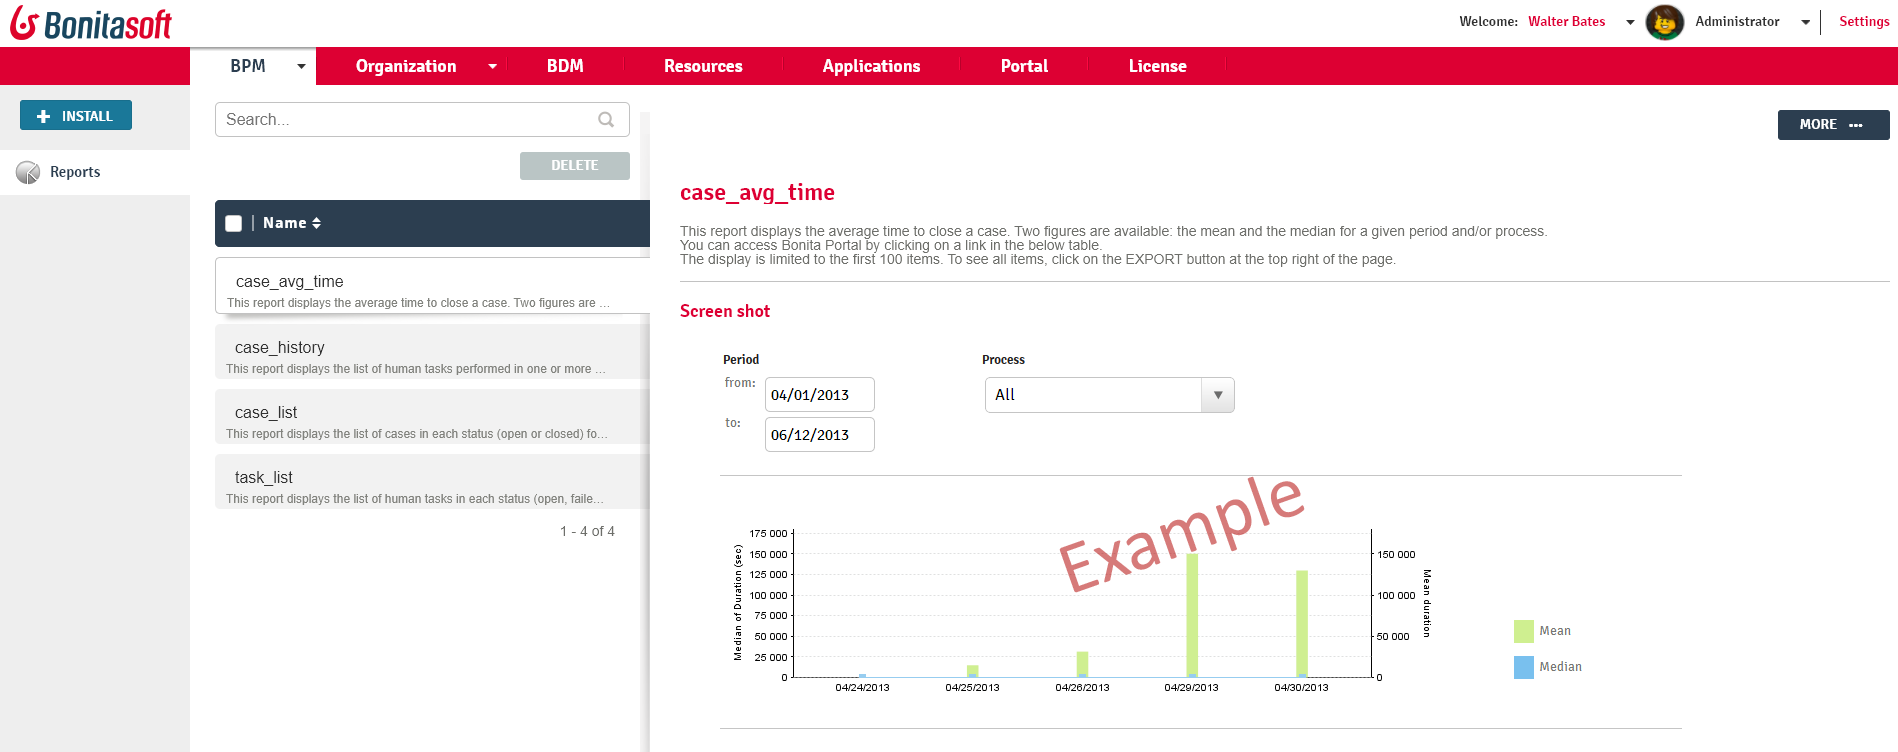
Provided reports
There are four reports available by default:
Case average time
Choose a filter to display certain parameters:
-
Case average time: period, processes
-
Case list: period, state (all, archived, opened), processes (all)
-
Task list: period, state (all, archived failed, opened)
Case list
Choose a filter to display certain parameters:
-
Case average time: period, process
-
Case list: period, state (all, archived, opened), process (all)
-
Task list: period, state (all, archived failed, opened)
Task list time
Choose a filter to display certain parameters:
-
Case average time: period, process
-
Case list: period, state (all, archived, opened), process (all)
-
Task list: period, state (all, archived failed, opened)
Case history
This report lists human actions on cases. This enables you to analyse and standardize cases in processes. In the case history report, the format of the exported file is a .csv file. This enables the data to be sorted and filtered.
Parameters
In the report, the query parameters are displayed in the Parameters section:
-
Date range - Period with two fields from and to or select a date
-
Process - Select All or a specific process and version
If a selection is made in the Process combo box, the following combo box is displayed:
-
Case ID list named "Cases" > Select "All" or a specific case ID. This is only available when a process is selected.
Generated export display
The generated .csv export contains the following in order of display:
-
Date
-
Time
-
Case ID
-
Process name
-
Process version
-
First name
-
Last name
-
User name
-
Action
-
Started
-
Skipped
-
Failed
-
Done
-
-
Task or Subtask
-
Parent task name (only filled if there is a subtask created for a task)
-
Due date
-
Due time
-
Overdue - (only filled if the task is done after the due date)
| what is not exported in the .csv report |
-
Comments
-
Human actions performed on "Parameters" and "variables"
Custom reports
You can also define and install a Jasper custom report.
For example, you could define a report to track purchase order progress.
Custom reports are created externally using Jaspersoft Studio.
Content of a .report archive (.zip), used in Jasper
The report archive (.zip) contains the Jasper file, a connection properties file and a .jar driver file. Optionally, a properties file can be added if the report is localized in different languages.
Export a report
A provided or custom report in Bonita Portal can be exported as a .pdf file.
-
Go to BPM/Analytics.
-
Select the report that you want to export.
-
Click on the More button.
-
Click on the Export button.
-
Specify where the report PDF file will be saved.
-
Click on OK.
Manage Japanese PDF reports
Japanese language support for reports is not provided by default.
In order to display the Japanese translations in the default PDF reports, you need to download the Japanese translation my_report_ja_jp.properties file from Crowdin.
If the tenant is deployed and your report has been displayed, open the directory of the report in the Bonita Home folder
(bonita/client/tenants/``yourTenantId`/work/reports/`yourReport`).
Then add your "ja_jp.properties" translation files to this directory.
If your report has never been displayed, go to your deployed war or ear > `WEB-INF\classes then edit your report zip file to add the Japanese properties file.