Application descriptor
Define your Bonita application descriptor.
Overview
In Bonita 7.5, we introduced the possibility to manage application descriptors from the Studio.
It accounts for an additional step to ease the management of Living Applications in Bonita, since our objective is to offer a unique application deployment artifact, managed from the Studio.
Then, all resources used by applications will be centralized and shared by the Bonita development suite: Bonita Studio and the UI Designer.
Definition
Basically, an application descriptor is an XML file. It represents the skeleton of an application, as it contains references to resources installed in Bonita Portal and used by a given application.
An application descriptor must be imported onto the portal (Administrator profile), in the Applications tab, to enable the application.
Before Bonita 7.5, this portal tab was the only way to create and manage applications.
For development purposes, the Studio can deploy applications descriptors onto the portal for you, from the project explorer or from the graphical editor.
Application descriptors are packaged in application files.
An application file is an XML file containing one or more application descriptors.
<!--  Application File -->
<applications>
	<application>
		<!--  First Application Descriptor -->
	</application>
	<application>
		<!--  Second Application Descriptor -->
	</application>
</applications>
However, application descriptors in a given application file are totally independent.
The purpose of grouping application descriptors in one file is to manage together applications with the same company purpose, each of them dedicated to a different user profile.
For example, the four leave management applications for employees, managers, Human Resources officers, and Administrators should be managed together, therefore grouped in the same application file.
Create and build an Application Descriptor
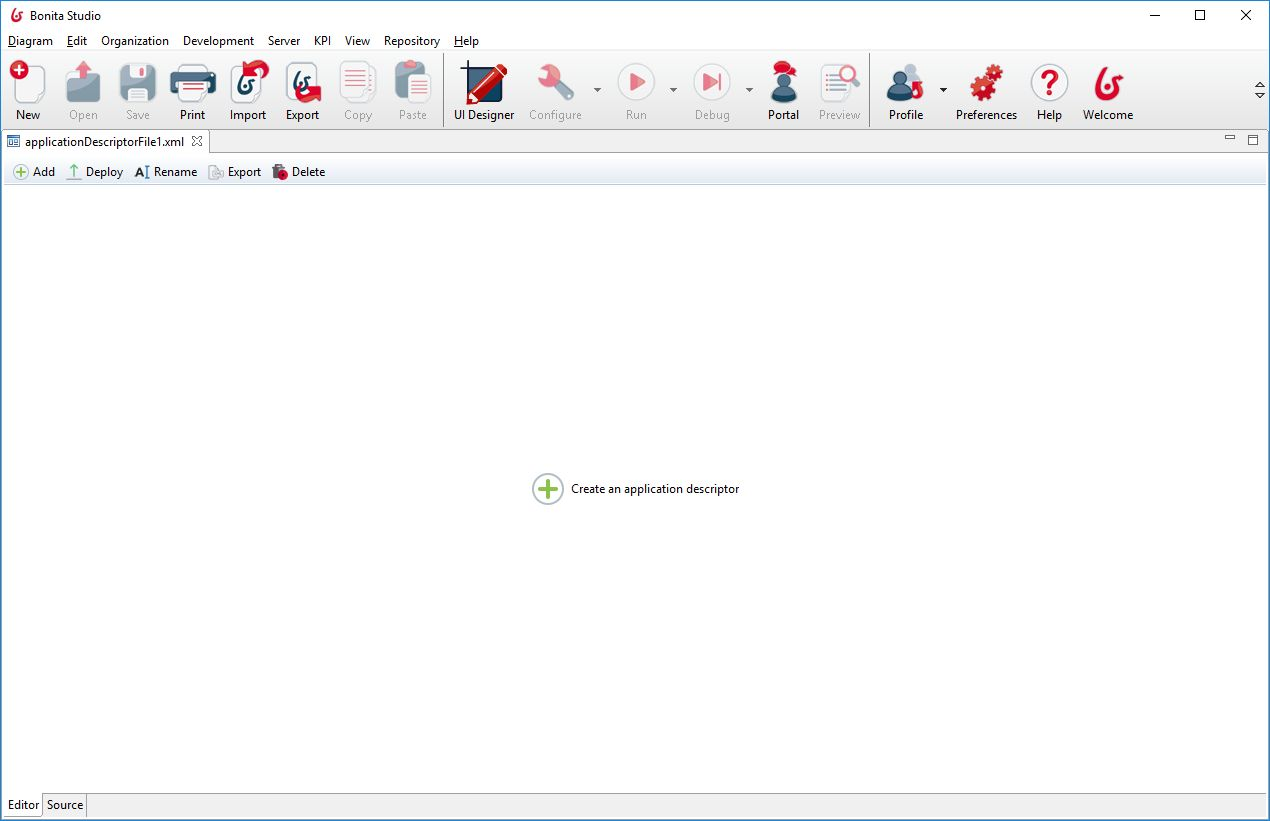
From Bonita Studio, use the new button in the Studio coolbar or click on Development -> Application Descriptor -> New…
It will create an empty application file with a default name and open an editor. You can rename this application file from the project explorer, the graphical UI or the menu Open.

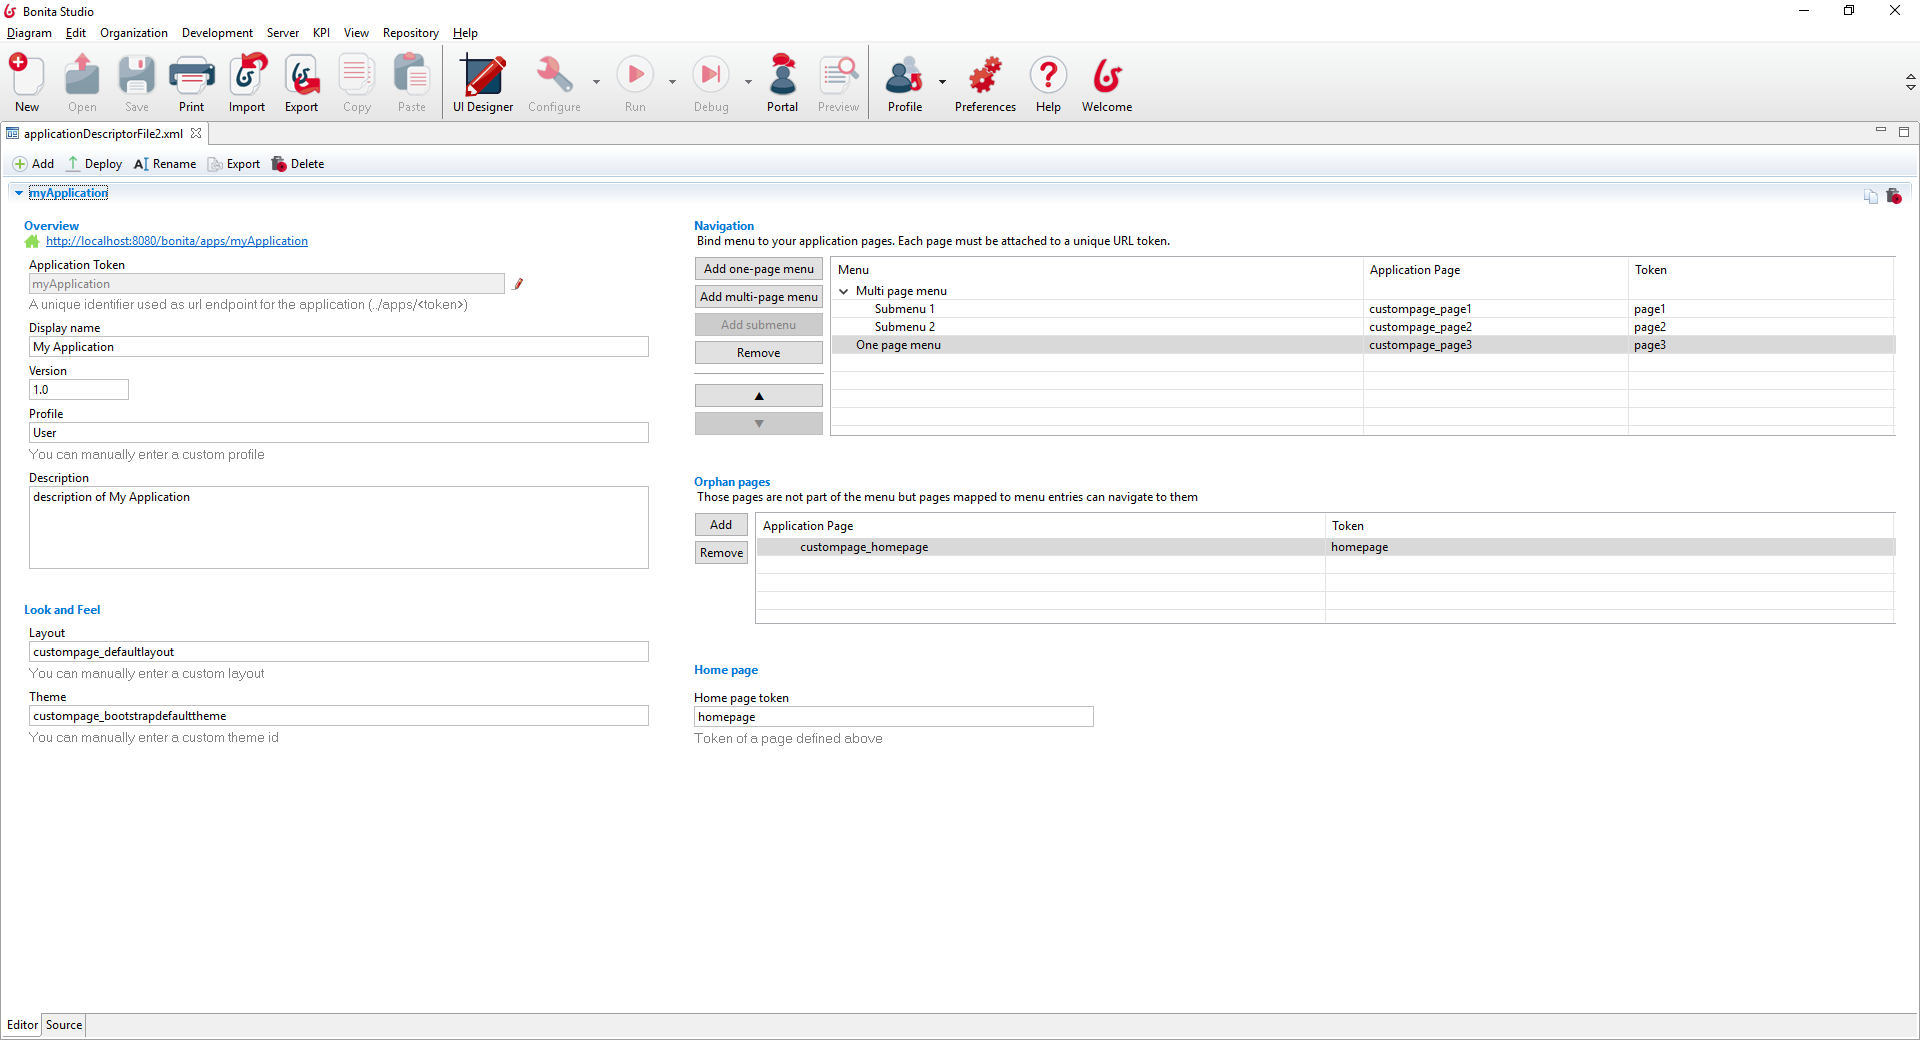
Here is the application descriptor graphical UI provided. It is bound to the XML source, so you can use it to build your application descriptor without writing xml.
You can switch from the graphical UI to the xml source at any moment, using the tabs Editor and Source at the bottom of the editor.
A toolbar is embedded to the editor, use it to:
-
Add an application descriptor to this application file
-
Deploy this application file (i.e all the application descriptors in this file).
⚠ For development purposes, it also deploys their referenced pages and layout, but if those resources use REST API Extensions, you have to deploy those manually. In production environment, you still need to deploy pages, layouts and REST API Extensions manually before to deploy the application descriptor. -
Rename this application file
-
Export this application file (download the .xml)
-
Delete this application file from your current workspace

The application Token is the identifier of your Application Descriptor; it has to be unique. It is used to define the URL root of your Application: ../apps/APPLICATIONTOKEN/..
The fields Profile, Layout, Theme, Application Page and Home page token come with an auto complete feature.
Be aware that we only suggest options known by Bonita Studio and the UI Designer.
It means that custom themes, or custom pages and layouts created with another editor than the UI Designer will not appear as options, since they are only known by Bonita Portal.
You can still reference such an "unknown" resource, but you will have to write the exact identifier by yourself, and make sure the resource is imported onto the portal before you deploy/install the application descriptor.
Since Bonita 7.6, and for Enterprise, Performance and Efficiency editions only, custom profiles can be created in the studio.
Therefore, such profiles will be suggested. Those created in the portal will not, but you can still export them from the portal and import them in the studio to get them in the suggested options.
There are two ways to reference pages used by your application. In the Navigation table or in the Orphan pages table.
Use the Navigation table to create the application menus/submenus, and bind those menus to pages.
A page needs a unique token (unique in the context of the application descriptor). It will be use to define the URL to reach this page: ../apps/applicationToken/PAGETOKEN
Use the Orphan pages table to reference pages that will be accessed using the associated URL, but won’t be attached to a menu. It can be the application home page, or pages accessible from other pages but not from a menu.
⚠ You don’t need to define your pages twice. If a page is accessed both from a menu and from another page, you only need to reference it in the Navigation table: pages defined in the Navigation table will be accessible in the whole application.
A preview link is also provided, at the top of the Overview section. Clicking on the link will first deploy the selected application descriptor, and then open the application home page in your browser.