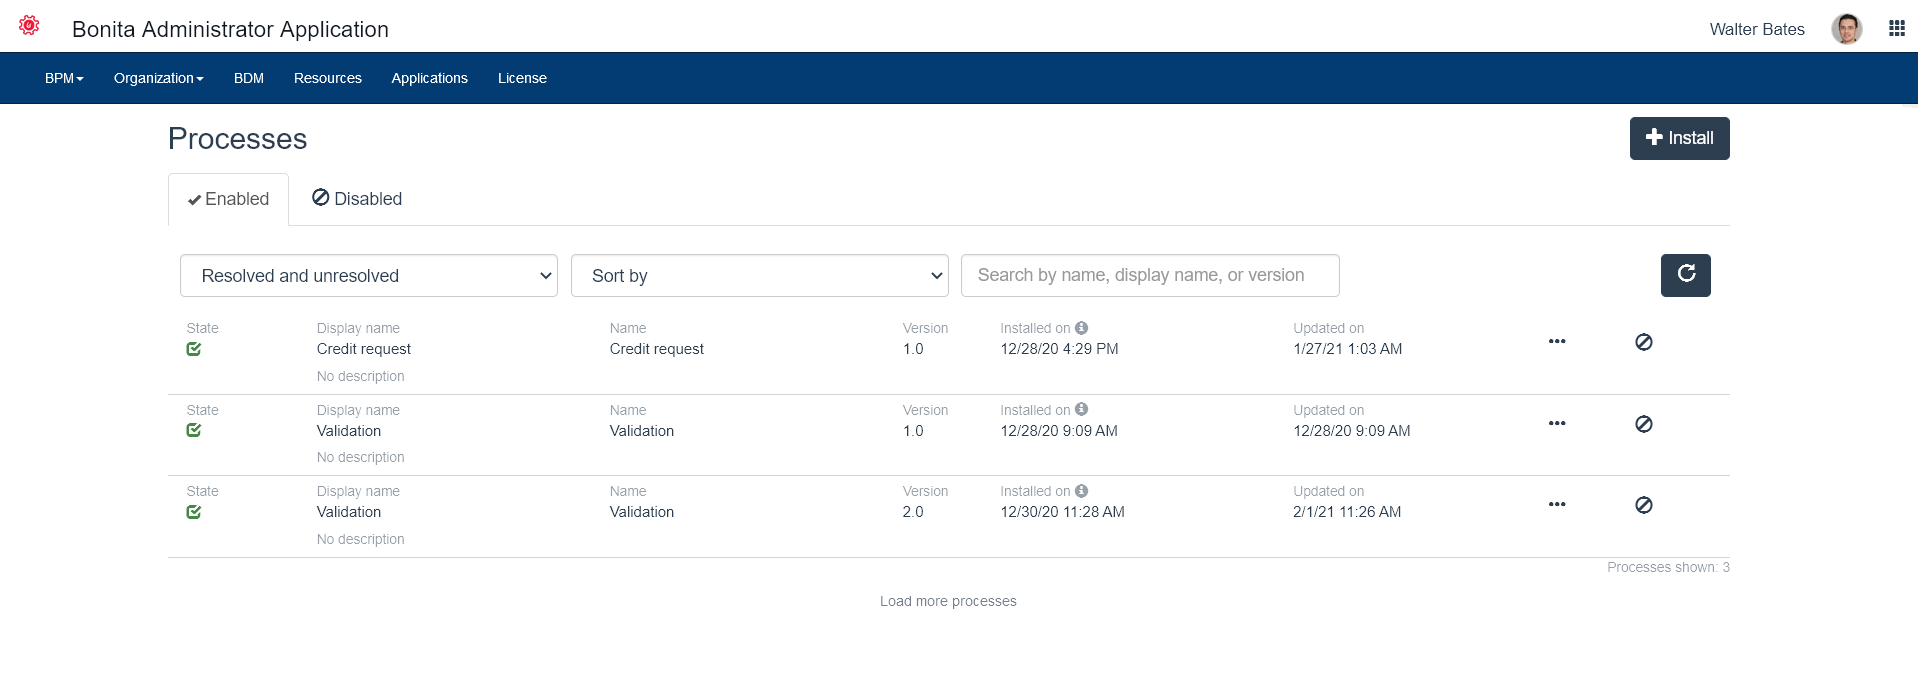
Process list in Bonita Administrator Application
This page explains what a user with the Administrator profile can see and do about processes in Bonita Administrator Application.
Those users can: install, enable and edit processes, categories, forms, entities mapped to actors and process manager, parameters, and connectors.
Here is a view of the Process list page:
Install a new process
This feature is only available for the Administrator profile.
-
Go to BPM > Processes
-
Click on the Install button on the top right of the page
-
Click to browse to the .bar file to import
-
Click on Install
The .bar file is ready to be resolved and/or enabled.
You can only install a .bar file that was exported from a Bonita Studio of the same minor (7.x) version as your Bonita Portal and Bonita Engine.
If you have a .bar file that was exported from an earlier version of Bonita Studio (7.x-1), it will not work with Bonita Engine.
Export the process definition as a .bos file from your old Bonita Studio, import in into the new Studio, then export it as a .bar.
This is necessary for a .bar that has not been deployed. A process that was developed in an older version of Bonita Studio and is already deployed is migrated automatically when you migrate your platform.
However, for future maintenance of the process definition, you are recommended to update all your process .bar files to the latest version each time you update your platform.
Resolve a process
Resolving a process means completing the configuration in the Administrator Application and making sure that all dependencies are met. A process has to be resolved before it can be enabled. To resolve a process, you must complete the configuration of the actor mappings, parameters, forms, and connectors defined for the process.
-
Actors: Every actor in a process must be mapped to at least one user, group, role or membership.
-
Parameters: Every parameter defined in a process must have a value.
-
Connectors: Every connector definition in a process must have a corresponding implementation (Class name).
-
Forms: Every form defined in a process must be mapped to a page or a URL.
-
Also, every business variable used in the process should have a corresponding model.
To resolve a process for actors, parameters, connectors, and forms:
-
Go to BPM>Processes
-
On the row of the process, click on View process details icon.
-
A summary of configuration problems is displayed below the process name in a well and warning icons are displayed in the left navigation list.
-
Modify your configuration for each element displayed.
To resolve a process for business variables:
-
Logout
-
Login in Bonita Administrator Portal with the technical user credentials
-
Come back to the application BPM/Processes and check the status.
Enable a process
-
Go to BPM>Processes
-
Click on the "Disabled" tab
-
In the row of the process, click on the Enable icon
-
In the confirmation modal window, click on Enable The process moves to the "Enabled" tab.
|
You can also enable a process in the "Details" view, by clicking on the Enable button. |
Disable a process
Disabling a process blocks the creation of new cases. This does not impact existing cases, where tasks can still be executed.
-
Go to BPM>Processes
-
Make sure you are on the "Enabled" tab
-
In the row of the process, click on the Disable icon
-
In the confirmation modal window, click on Disable The process disappears from "Enabled" tab and is located in the "Disabled" tab
|
You can also disable a process in the "Details" view, by clicking on the Disable button. |
Delete a process
|
A process must be disabled before it can be deleted. |
|
Beware! Data loss risk! Deleting a process will automatically delete all its cases (on-going and archived alike). Thus, the operation may take a long time, and fail if the transaction timeout is not large enough. This feature should only be used on non-production environments. Proceed at your own risk. |
-
Go to BPM>Processes
-
Find the process by clicking on the Disabled tab
-
In the row of the process, click on the "View process details" icon
-
In the details view, click on the Delete button
-
In the confirmation modal window, click on Delete
Create a category for a process
-
Go to BPM>Processes
-
In the row of the process, click on the View process details icon
-
In General, click the Pencil next to Categories label
-
In the opened modal window, type a new category name then press the Enter key
-
Click on the Save button.
After you created a category and added it to the process, you can add other processes to the category.
Add a category to a process
-
Go to BPM>Processes
-
In the row of the process, click on the "View process details" icon
-
In General, click the Pencil next to Categories label
-
In the opened modal window, start typing the category name, and then select among the suggestions by using the arrow keys or mouse.
-
Press the Enter key
-
Click on the Save button
Start a case for another user
This feature is available with the Enterprise, Performance, and Efficiency editions.
To start a case for another user:
-
Go to BPM>Processes
-
In the row of the process, click on the "View more details" icon
-
Click on the Start for button on the top right corner of the screen
-
In the popup, start typing the user for whom you are starting the case. Only valid users for the case are displayed.
-
Select the right user
-
Click on OK
The case is started as though the specified user had started it. For example, if you start a case for user A and a subsequent task is to be done by the manager of the user, it is assigned to user A’s manager, not to your manager.
All of what follows belong to the Live update feature and are only available in for the Enterprise, Performance, and Efficiency editions.
Edit the actor mapping
You need to map organization entities to an actor. To do so:
-
Go to BPM>Processes
-
In the row of the process, click on the "View more details" icon
-
Click on Actors in the left menu. To add entities:
-
Click the + button in the user, group, role or membership column of the actor line.
-
In the opened modal window, click on the dropdown list to select one or several entities. The list displays the first five elements, then a number is displayed representing the other selected entities. To remove entities:
-
In the opened modal window, there is a list of the entities already mapped with the actor. Click on the X button next to an entity, or click on Remove all. A list appears filled with the entities you are about to remove. You can undo a removal by clicking on the X button next to the entity or by clicking Enable all
-
Click on the Apply button.
|
Only the first 200 actors are displayed in the dropdown. |
Define one or more Process managers
There are two stages to define a Process Manager:
-
Map organization entities to access the Process Manager Portal to view information related to the processes they will be Process Managers of. Only Administrators can do so.
-
Go to Organization/Profiles in the Administrator Application
-
Choose the Process manager profile. This will display the users, groups, roles, and memberships who already have this profile.
-
Click on More….
-
Click on Add a user.
-
Select a user by checking the box next to the user name.
-
Click on Add. The Process manager profile is now assigned to the user. You can also assign a profile to a group, role, or membership.
-
-
Map the process to one or several entities that have the Process Manager profile.
-
Go to BPM>Processes
-
In the row of the process, click on the "View more details" icon. The Process managers currently assigned to the process are shown in the Process manager mapping table.
-
To add a user, click the Plus sign or Pencil button in the User column. A popup shows a list of the users who are currently process managers for this process.
-
Click Select users. A list of users is displayed.
-
Select the user you want to be a Process manager for the process, and click on Apply. The selected user is added as a Process manager for the process. You can also assign a process to a group, role, or memberships.
-
Modify a parameter
-
Go to BPM>Processes
-
In the row of the process, click on the "View more details" icon
-
Click on Parameters in the left menu
-
In the Value column, click on the value you want to edit. A field appears.
-
Click on the Tick button to validate your change or X to dismiss your change.
Edit a connector implementation
-
Go to BPM>Processes
-
In the row of the process, click on the "View more details" icon
-
Click on Connectors in the left menu
-
In the connector definitions table, in the actions column, click on the Pencil icon
-
Browse to a .zip file containing the new connector implementation
-
Click on Save to import the new implementation.
Upload a new form
-
Go to BPM>Processes
-
In the row of the process, click on the "View more details" icon
-
Click on Forms in the left menu
-
Click on the Form list tab. A list of form is displayed. These forms are only visible to the current process.
-
Click the plus button at the bottom of the list. A file selector popup is displayed.
-
Browse to a .zip containing a form.
-
Click on Next, then if your form requires some authorization, it will be displayed.
-
Click on Confirm.
Edit an existing form
-
Go to BPM>Processes
-
In the row of the process, click on the "View more details" icon
-
Click on Forms in the left menu
-
Click on the Form list tab. A list of forms is displayed. These forms are only visible to the current process.
-
Click the Pencil button of a form line. A file selector popup is displayed.
-
Browse to a .zip containing a form
-
Click Next, then if your form requires some authorization, it will be displayed.
-
Click on Confirm.
Update the form mapping with process instantiation, tasks, or case overview
-
Go to BPM>Processes
-
In the row of the process, click on the "View more details" icon
-
Click on Forms in the left menu.
-
The tables are displayed which list available forms. Click on a red link. A field input appears.
-
Starting to type some text, and any matching names of installed forms will be proposed. If there is no match for the name you enter, it will be considered as a URL.
-
Click the Tick button to validate your change or X to dismiss your change.
|
You can also upload a new form in order to create a new form mapping (see the above section Upload a new form). |
Edit a script content
-
Go to BPM>Processes
-
In the row of the process, click on the "View more details" icon
-
Click on Scripts in the left menu. A script content tree is displayed.
-
You can search for a script by typing text in the dedicated field
-
Click on the Pencil button next to a script name. A popup window is displayed
-
Edit your script content
-
Click on Save