Collaborative work: project documentation
How to generate the project documentation in Bonita Studio.
|
For Subscription editions only. |
Overview
To collaborate efficiently with business users, Bonita studio allows you to generate and export the documentation of your project.
The documentation generator will use mostly information stored in the objects of the studio such as the processes or tasks.
|
In order to fully use this feature, we recommend that you use extensively the provided description fields. |
As we know that your needs in term of documentation can greatly vary from one project to another or from one team to another, you can easily customize both the generated documentation and the templates used by the generator.
To perform these customizations, you will need Groovy and asciidoctor knowledge. However, we provide examples to make your life easier and a framework so that business-oriented users can also participate in the documentation.
Generating the documentation
Right-click on your project and select the menu:Documentation[Generate] menu:
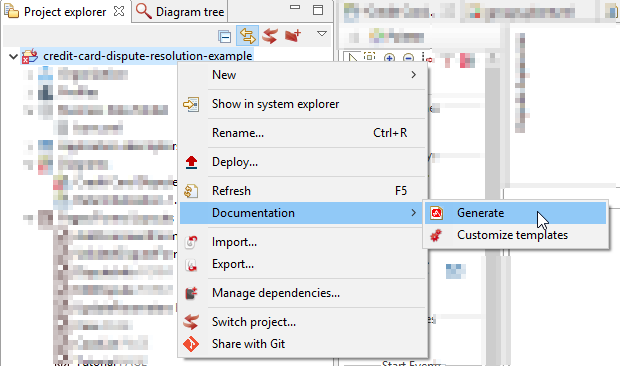
It will trigger the documentation generation based on the default templates. The following artifacts will be created in the project’s root folder:
-
README.adocfile in the project root folder. It is the generated documentation in asciidoc format. Double click on it to edit with the Studio’s asciidoc editor or just to view it. -
A
documentationfolder containing the sources for the documentation:-
imagesfolder: all the images used in the documentation -
plantumlfolder: Contains.plantumlfiles, those files are transformed intosvgimages at generation. -
staticfolder: to store static documents that can be imported in the documentation.
-
Including diagrams in your documentation(e.g. BDM class diagram)
In order to generate BDM class diagram or Organization group hierarchy diagram it is required to install Graphviz on your computer.
-
On Windows: Download msi installer and install it in the default folder. If you want to change the default folder, you’ll need to configure the location in the Studio (Preferences > Eclipse > Plantuml > Path the dot executable of Graphviz).
-
On Ubuntu:
sudo apt-get install graphviz -
On MacOs:
brew install libtool
brew link libtool
brew install graphviz
brew link --overwrite graphviz
Once installed, it is possible to create your own plantuml diagrams and integrate them in the documentation using template customization.
Customizing the documentation
Customizing the generated document
Required skills: asciidoc syntax
Once the file is generated you can fine-tune it by modifying the output document.
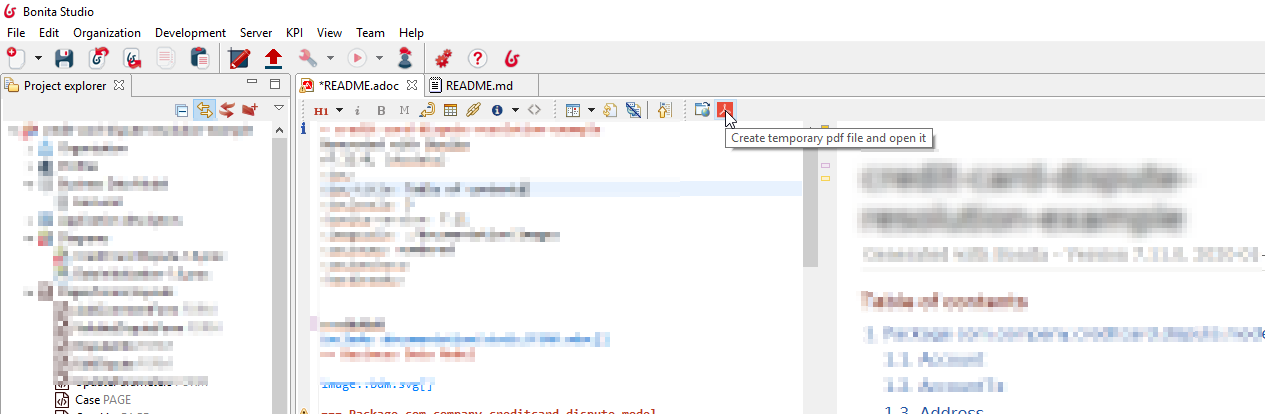
To do it, open the README.adoc file with the Studio. The embedded editor is divided into three vertical panels:
-
On the left, the source code of the documentation in asciidoc format
-
In the middle, the HTML preview of the document
-
On the right the document outline
Now you can edit the source code to customize the documentation. To refresh the preview, save your source code.
|
If you launch the documentation generation again it will overwrite your README.adoc file. To avoid this, rename your file. |
Customizing the documentation templates
Customizing the documentation templates allows you to industrialize your documentation generation. You will not have to customize manually the generated document it will already suit perfectly your needs!
To customize the generation templates, right-click on your project and select the Documentation > Customize templates menu.
The following artifacts will be created in the project’s documentation folder:
-
A
templatesfolder-
srcfolder: the template source files -
groovydocfolder: the groovy documentation for the Project data model and the template tools. -
README.adocfile: the instructions to help you customize the templates.
-
Exporting the documentation
The Studio documentation editor allows to export your documentation in two formats:

Export as HTML
As a HTML document thanks to the  button.
If you need to industrialize the HTML generation you can use many tools. The most straightforward way is to install asciidoctor command line interface like explained in the official documentation.
Then follow the instructions of the official documentation for more information to generate a .html file from an .adoc file. The .html file needs the documentation folder to be at the same level to properly display the images assets.
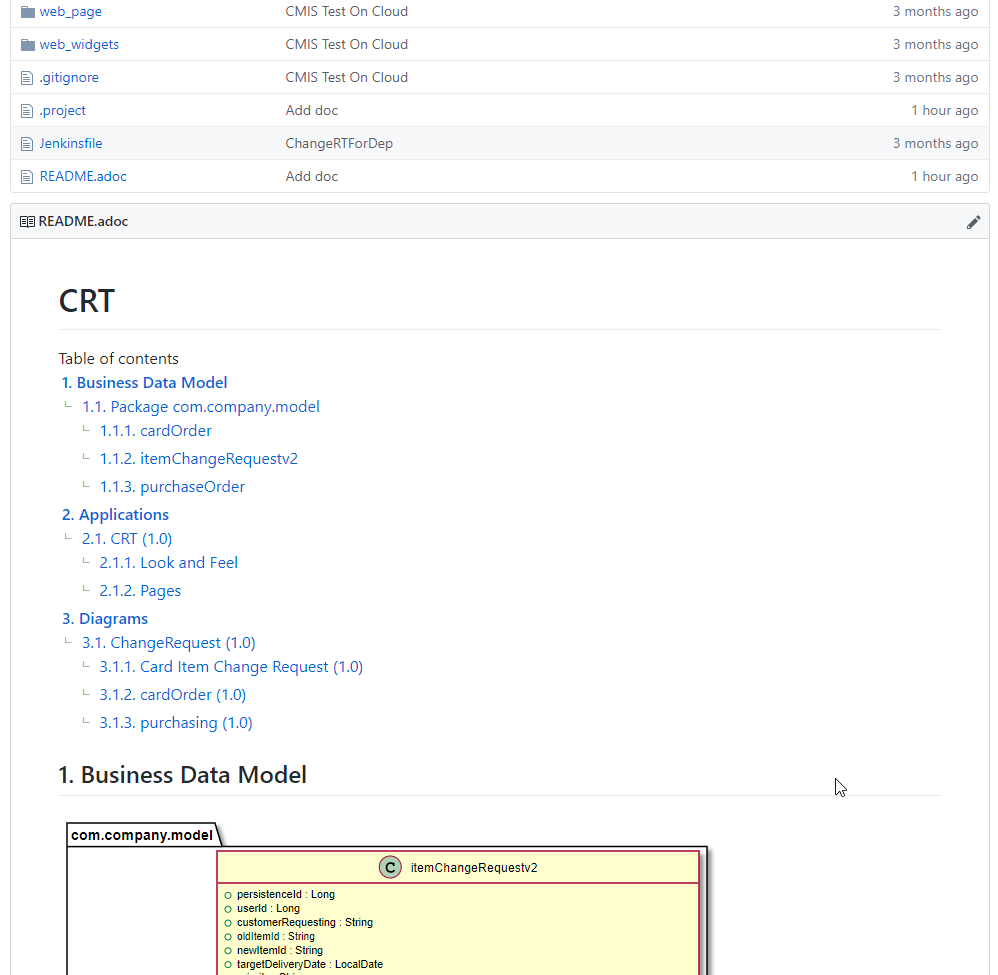
View in GitHub or GitLab
If you are using GitHub or GitLab for your project, your documentation will be displayed below the content of the repository (like any readme file). All you need to do is generate your documentation and push it to your repository thanks to "Team" features.
Collaboration thanks documentation generation feature
The documentation will help you collaborate with business users to build processes and applications that match perfectly their needs.
Fail fast
The business users or citizen developers have the functional inputs required for the implementation. However, as the project advances there can be a misalignment between the implementation and business needs.
Thanks to the documentation generator, as a developer you can share the current implementation status without having to build and deploy. This means that this sharing can take place at an early stage of the project’s lifecycle.
Potential issues, misunderstandings or inconsistencies will be detected at a minimal cost.
Therefore, we will strongly recommend that you generate regularly the documentation to share it with the stakeholders.