Create web user interfaces (forms)
Generally, a user usually drives process execution using web interfaces. Bonita provides the UI Designer to easily create such interfaces.
|
The standard workflow would be to:
If you have been following this Getting Started tutorial, you have already done the first three steps. Now it’s time to create the forms. |
Start with the process instantiation form:
-
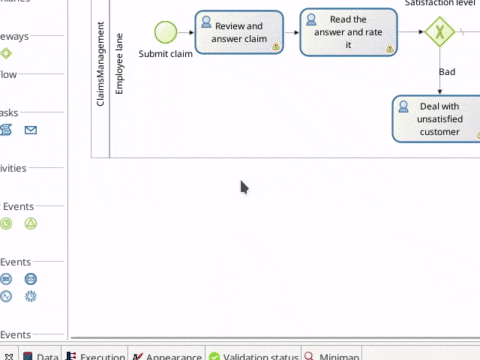
Select the process pool
-
Go to
-
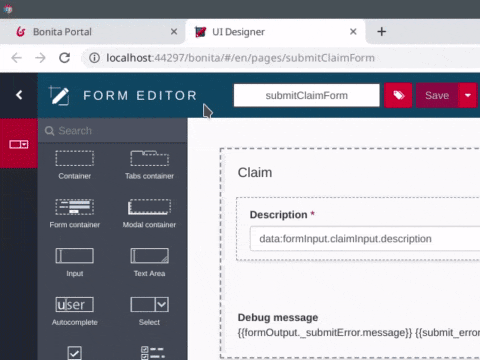
Click on the pencil icon next to Target form. It will create a new form based on the contract (if the form does not already exist) and open the UI Designer in your web browser
-
Rename the form from newForm to submitClaimForm
-
Click on Save to save the form with its new name
Customize the form appearance. For example, you can switch from a one line text widget to a text area widget:
-
Select the Description widget by clicking on it
-
In the Widget properties, on the right hand side of the window, click on the … icon and select Switch…
-
In the drop down list select Text Area
-
Click on Show properties
-
Click on Switch
-
Click on Save to save your modifications
|
The switch menu option can be used to replace one widget with another one while keepiing the current configuration. |
You can now go back to Bonita Studio and create the form for the Review and answer claim user task:
-
Select the task
-
Go to
-
Click on the pencil icon next to Target form. It will create a new form based on the contract (if the form does not already exist) and open the UI Designer in your web browser
-
Answer Yes to the question presented. This will add widgets to view all the attributes of the business variable in the form
-
Rename the form from newForm to reviewAndAnswerForm
-
Select the Satisfaction Level widget and use the delete key to remove it as you don’t want it in this form
-
Click on Save to save your modifications
Do the same set of operations with the form for Read the answer and rate it task:
-
Set the form name to readAnswerAndRateItForm
-
Leave all widgets as is, as you want to display both the claim description and the answer, and allow the user to provide a satisfaction level
Execute this new process version and see that the form still offers the option to capture the data required by the contract, but now also displays the data provided at the process start and in previous steps.
In the next chapter you’ll assure that individual tasks can only be performed by appropriate users.