Group list in Bonita Administrator Application
This page explains what a user with the Administrator profile can see and do about groups (of the organization) in Bonita Administrator Application.
To easily manipulate users with the same rights, it is possible to group them together.
Groups can be defined in the organization, users can then be added to groups, and groups can be used to map actors or profiles or other permissions in Bonita.
Here is a view of this page:
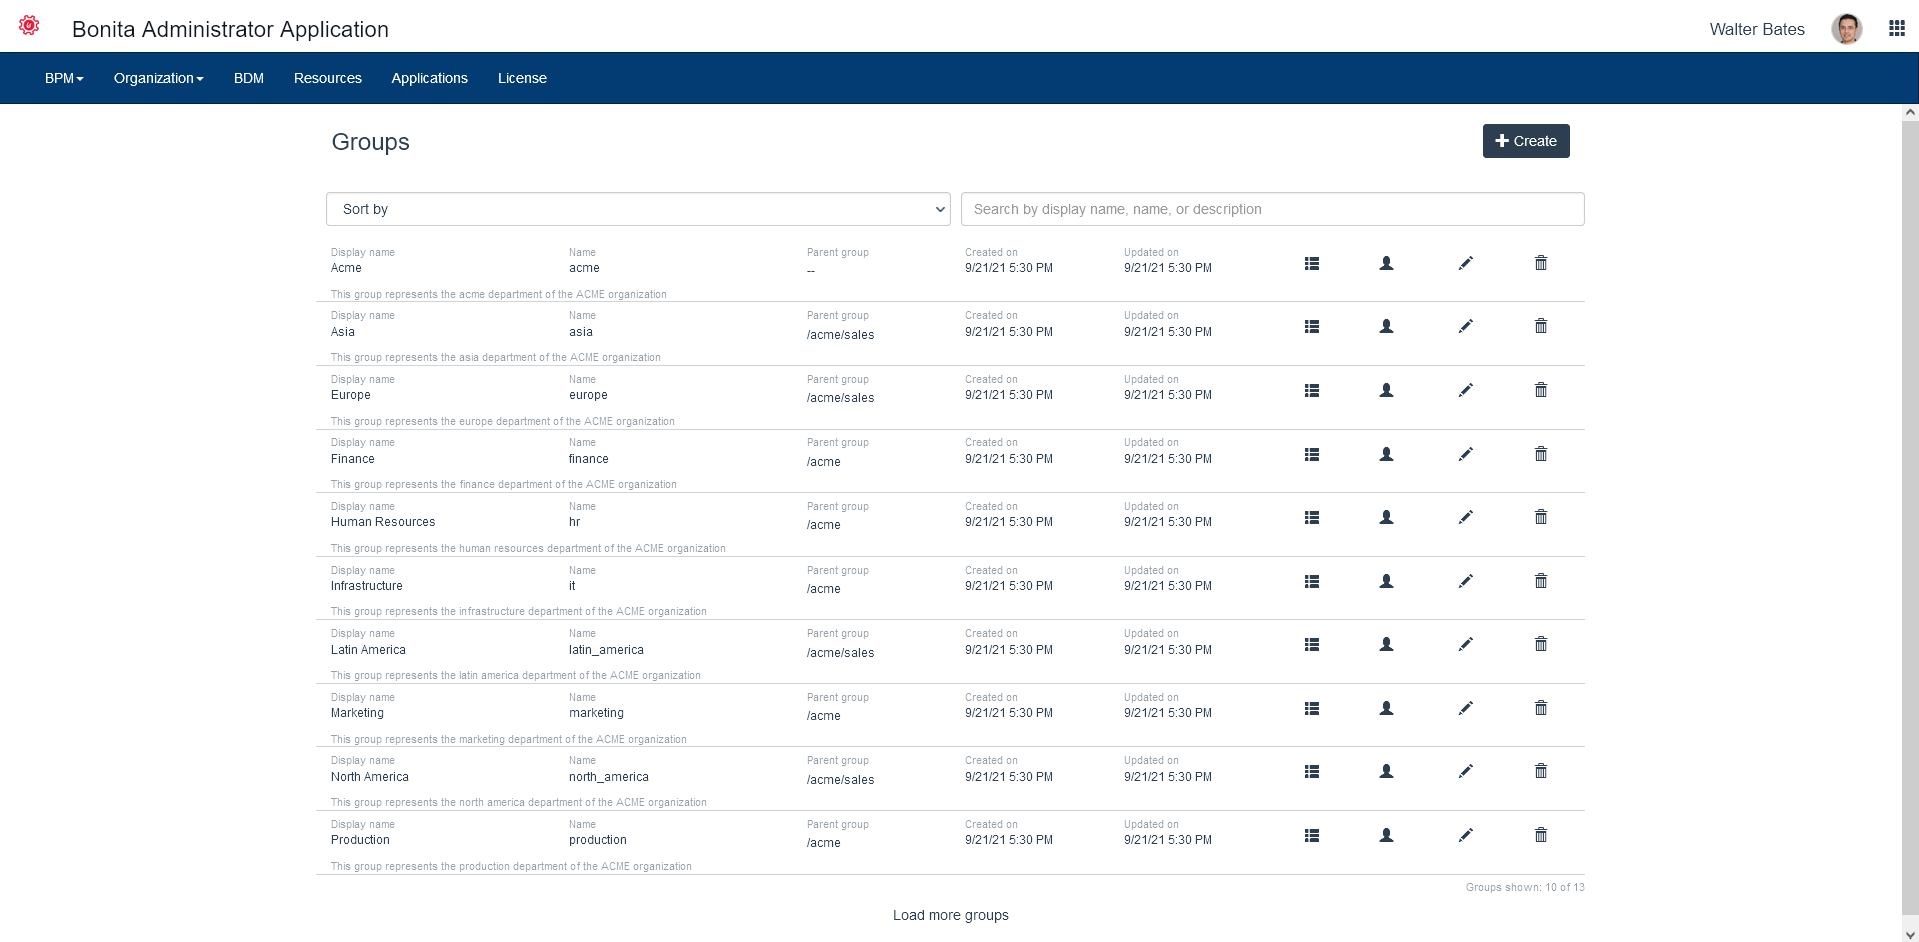
On this page, an Administrator can:
View the sub-groups of a group
-
Go to Organization/Groups
-
In the row of the group, click on the View sub-groups icon
View the users directly mapped to a group
-
Go to Organization/Groups
-
In the row of the group, click on the view users in the group icon
-
In the modal window, if you require more information about the user, go to the end of his row and click on the View user details icon to navigate to the user details page.
Live Update
The Administrator can Live Update a group:
-
create
-
delete
-
edit the name, description, and parent group
-
modify users within a group
This is only in case of an issue to solve temporarily. We strongly encourage the modification of the organization to be conducted in Bonita Studio so it can be shared and versioned with the whole project, or through the LDAP synchronizer if the organization is located in an external system.
Create a group
-
Go to Organization/Groups
-
Click on Create
-
In the modal window, enter the name (required, can be technical), the display name, the parent group, and a description. By default, the display name will be the (technical) name
-
Click on Create
|
Bonita does not accept the '/' character in the group name field. A group name that contains a '/' may lead to unstable behaviour. |
Delete a group
-
Go to Organization/Groups
-
In the row of the group, click on the Delete group icon
-
In the confirmation modal window, after checking that the group has no subgroups, click on Delete
Edit a group name and parent group
-
Go to Organization/Groups
-
In the row of the group, click on the Edit group icon
-
In the modal window, update the group information
-
Click on Save.
Modify users within a group
In the way we conceive the way a user pertains to an organization, it is only possible to add both a role and a group (what we call a membership) to a user.
For example, "Assistant"(role) of "Human Resources"(group).
-
Go to Organization/Users. You navigate to the Users page.
-
In the row of a user, click on the View user details icon
-
Click on Profiles / Memberships
-
To delete a membership, click on the Delete icon of an existing membership or to add a membership, click on the + button, select the role and the group for the user, and click on Add