Bonita Studio installation
The first step of to getting started is to set up your development environment.To do this, install Bonita Studio.
|
If you have any problems while working through this tutorial, you can ask for help on the Bonita community and/or open an issue on the Bonita Community issue tracker. |
Download Bonita Studio
To download the latest version of Bonita Studio, open the download page and click on the Download button. This will start the download of the Bonita Studio installer for your operating system.
When the download is finished, you should have one of the following files on your computer (x.y refers to the version of Bonita Studio, e.g. 2021.1):
-
Windows:
BonitaStudioCommunity-x.y-x86_64.exe -
macOS:
BonitaStudioCommunity-x.y-x86_64.dmg -
Linux:
BonitaStudioCommunity-x.y-x86_64.run
You are now ready to start the installation process.
Install Bonita Studio
To run the installer for Windows, macOS or Linux, double-click on the file you downloaded.
The installer will guide you through a very basic installation configuration:
-
Select installation language: this will be used for the installation process
-
Welcome message: click on Next
-
License agreement: you need to accept this to continue
-
Installation directory: the default should be fine
-
Confirmation that installation is about to start: click on "Next"
-
Actual installation: wait a little bit
-
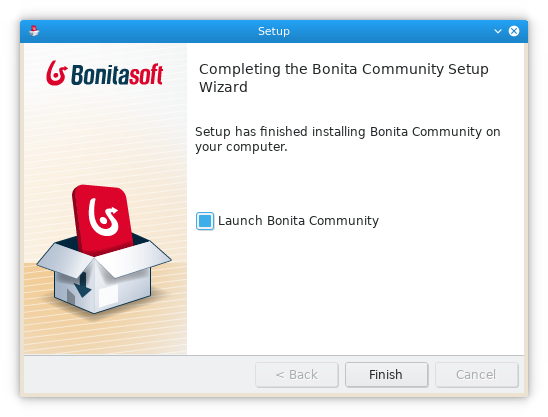
You’ll see a confirmation message that offers the option to start Bonita Studio. Choose to start Bonita Studio and click on Finish
-
A "thank you for downloading" page will be displayed in your web browser. You can close it
Bonita Studio is now installed. The default installation folders are:
-
Windows:
C:\BonitaStudioCommunity-x.y -
macOS:
/Applications/BonitaStudioCommunity-x.y -
Linux:
/home/<username>/BonitaStudioCommunity-x.y
First Bonita Studio execution
Now Bonita Studio should be running on your computer. If not, you can manually start it by using the installed shortcut or by using the Bonita Studio executable file from the installation folder.
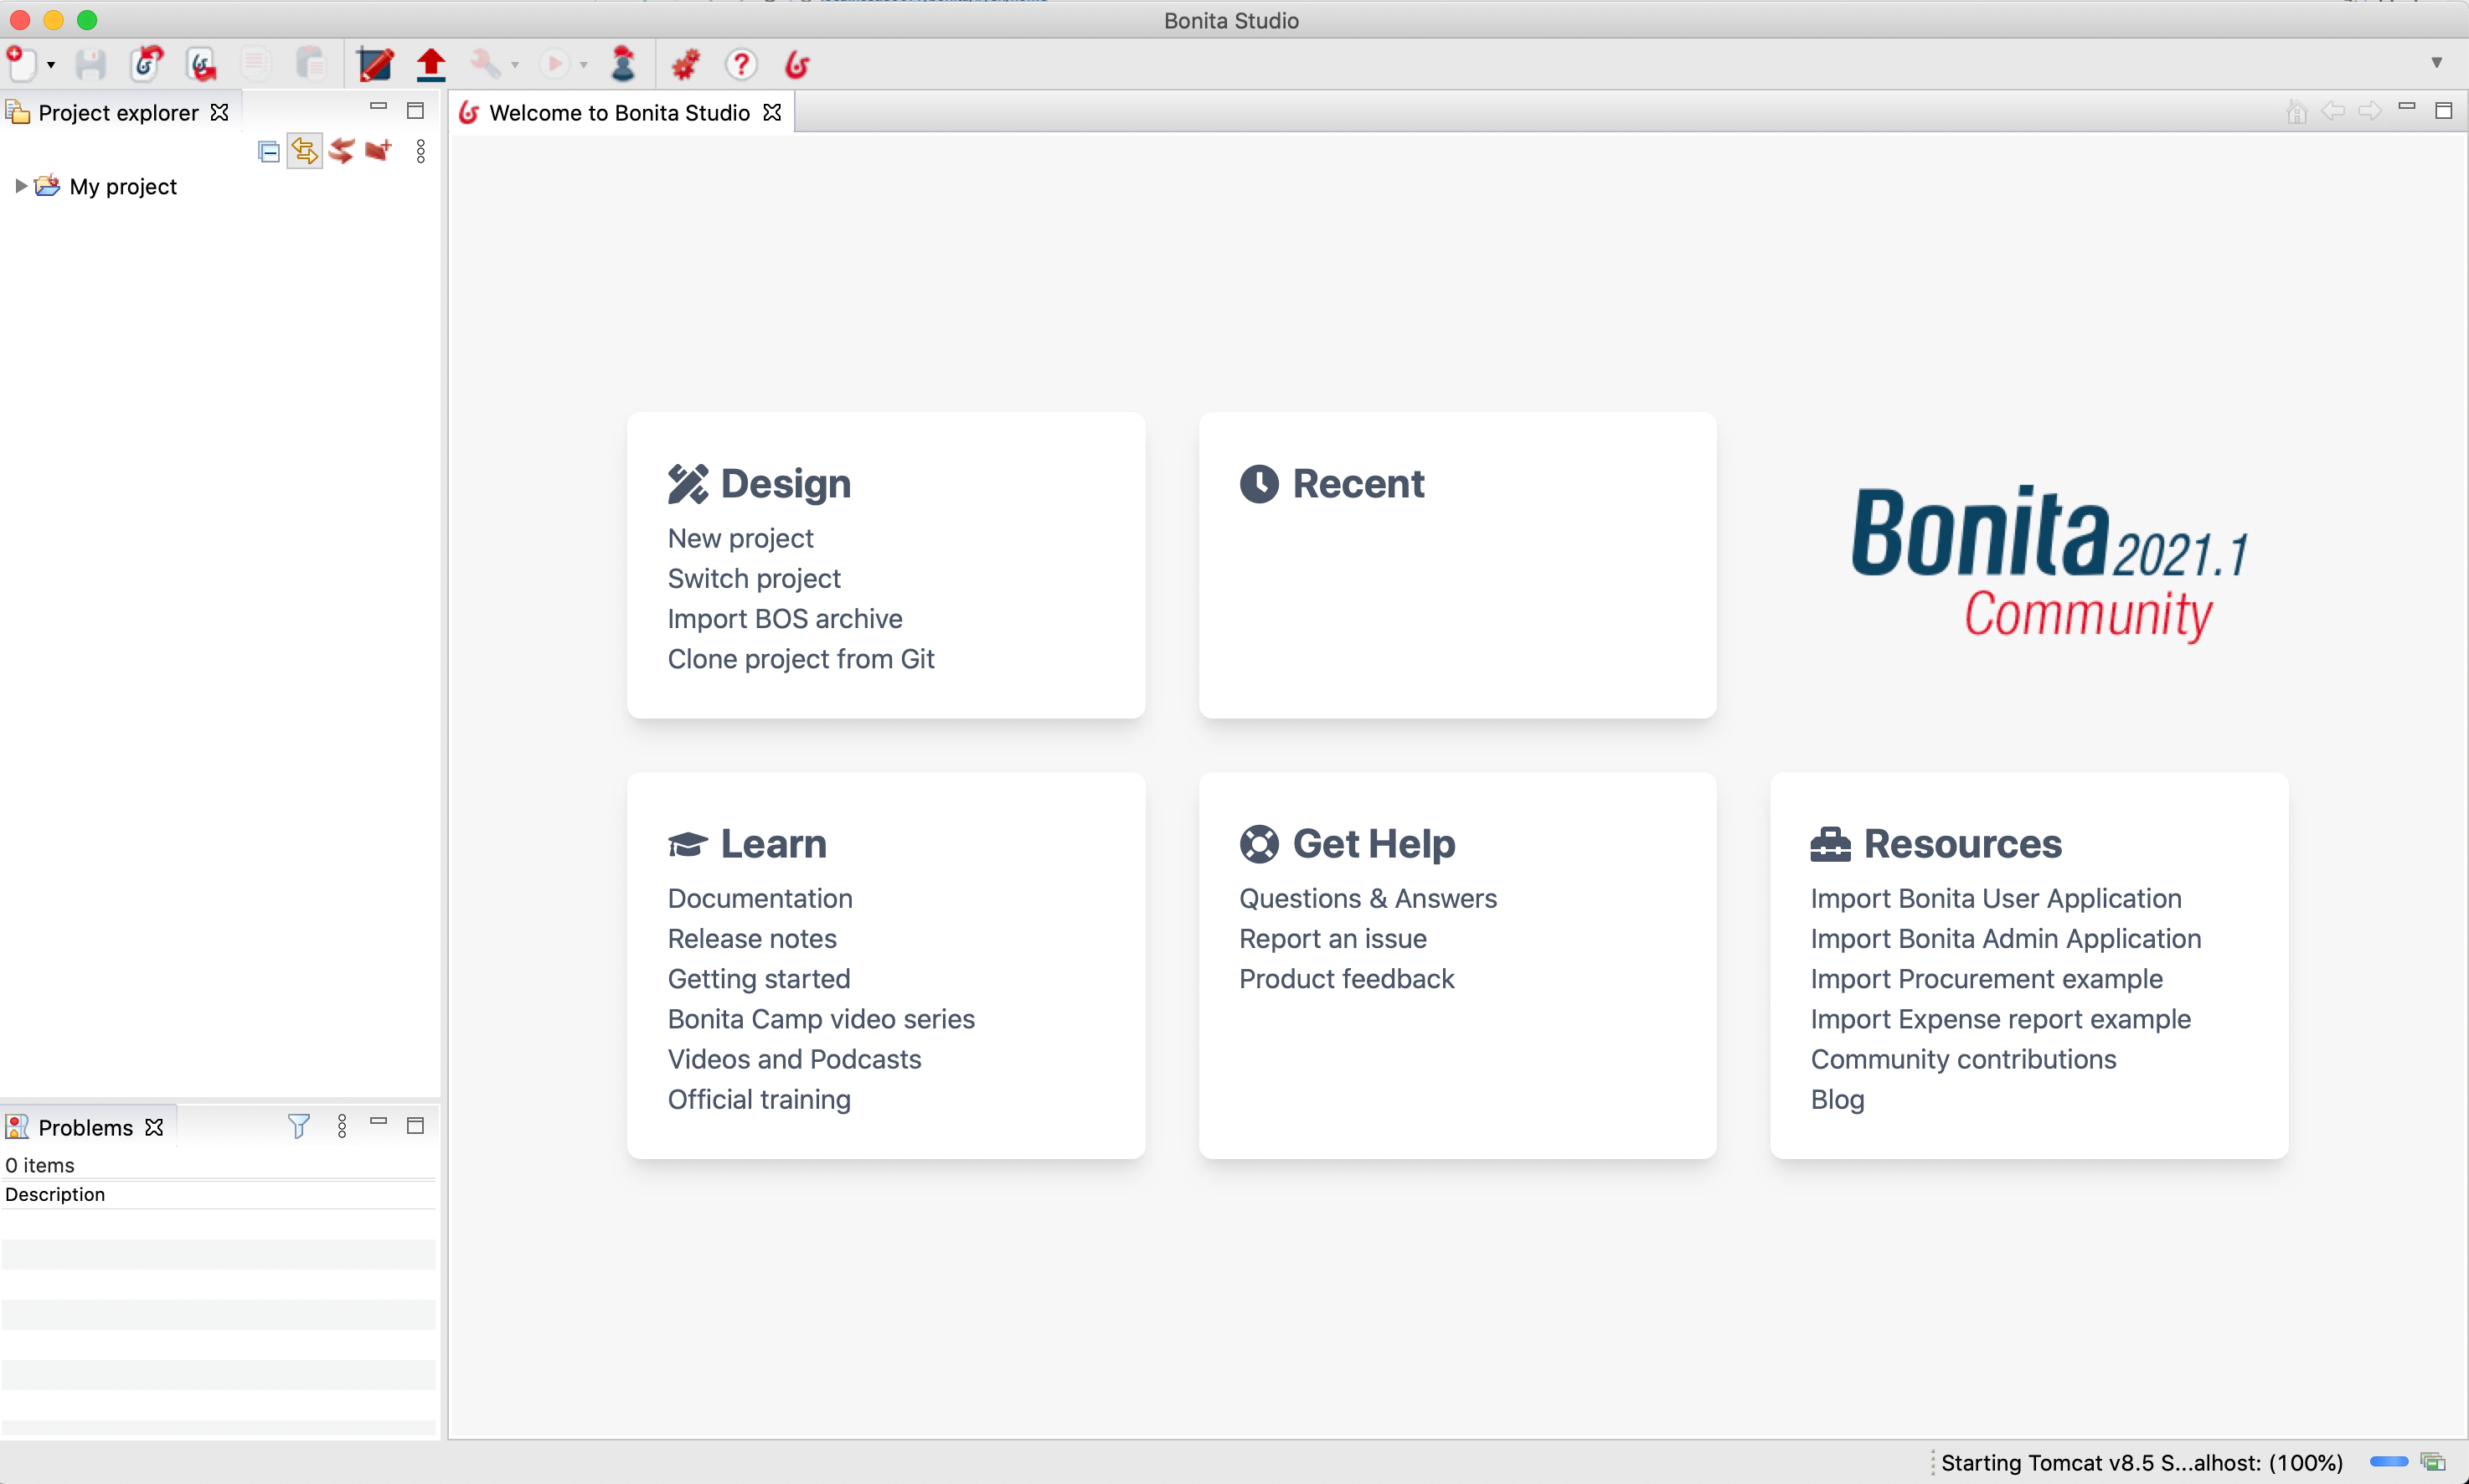
You should get the Bonita Studio welcome page:
|
When Bonita Studio starts, various tasks are executed in the background, such as the embedded Bonita test server startup (including Bonita Engine initialization), Bonita test organization deployment, and more.
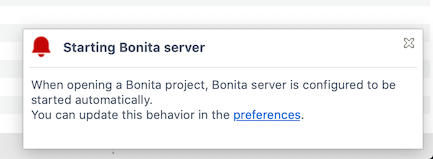
This might take a while and some features may not be immediately available. A pop-up window will appear to indicate you can update the Bonita server configuration in preferences |
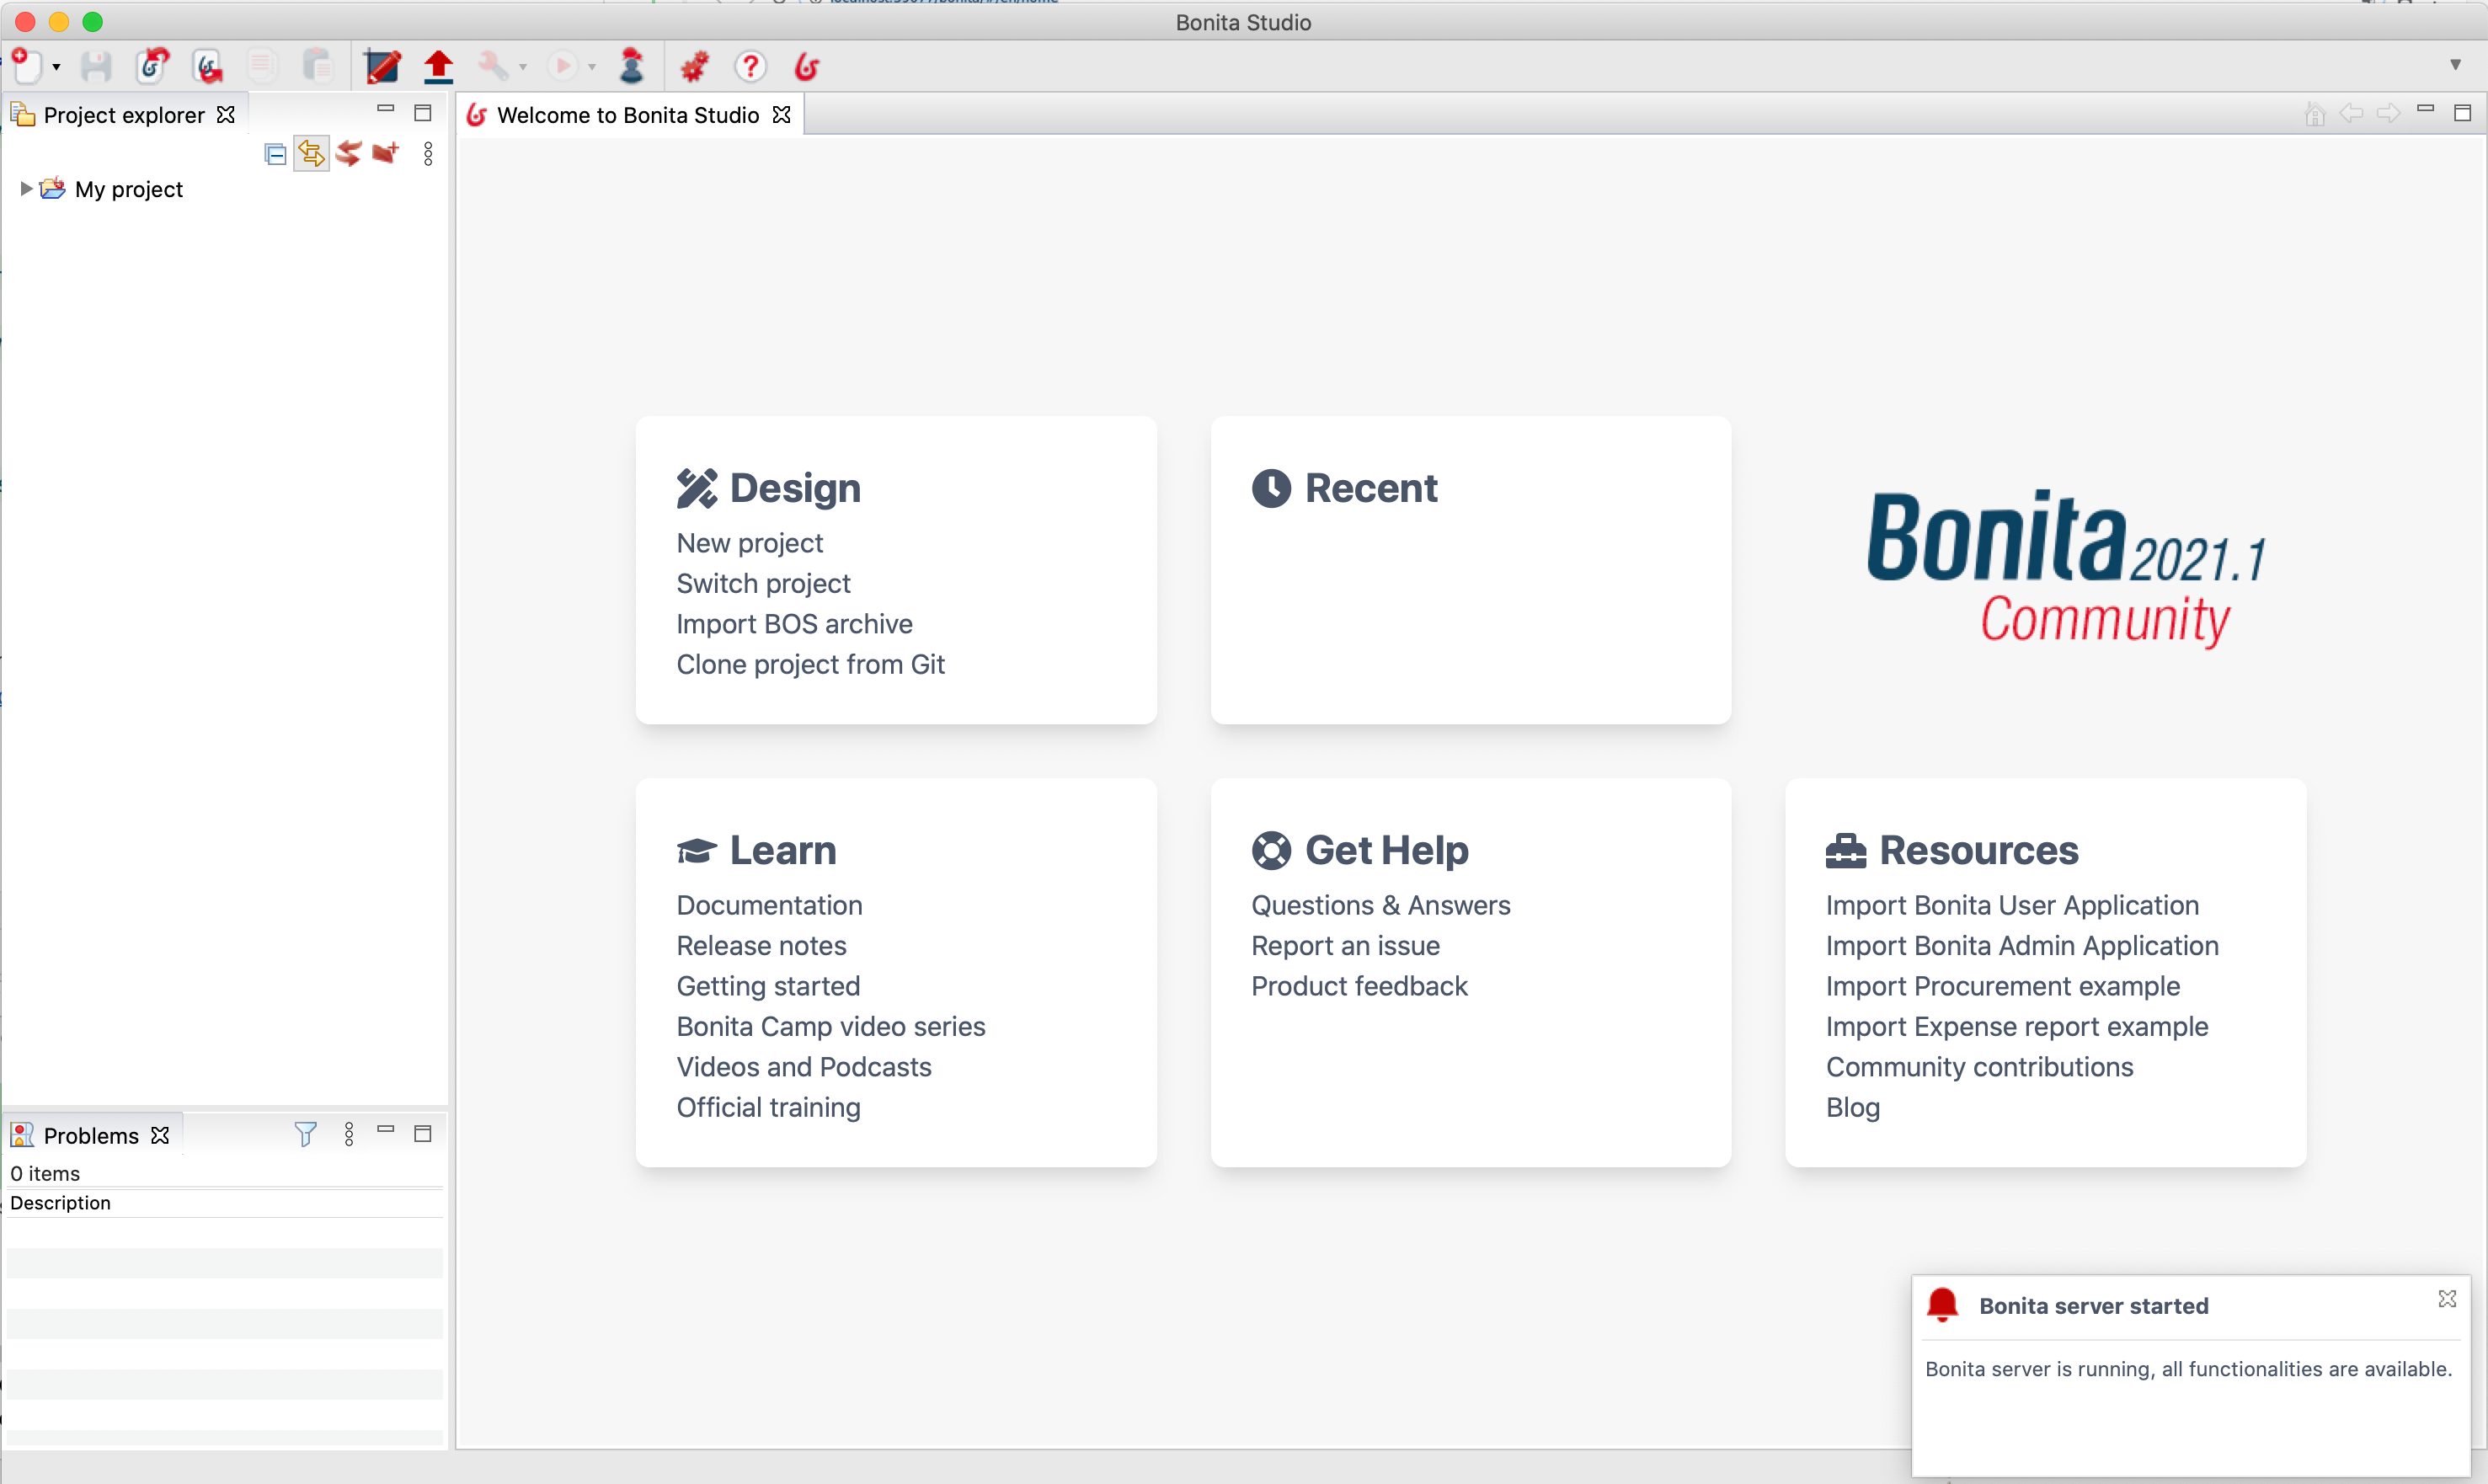
When the Bonita Engine is started, you will see a confirmation pop-up on your Bonita Studio welcome page.
Installation validation
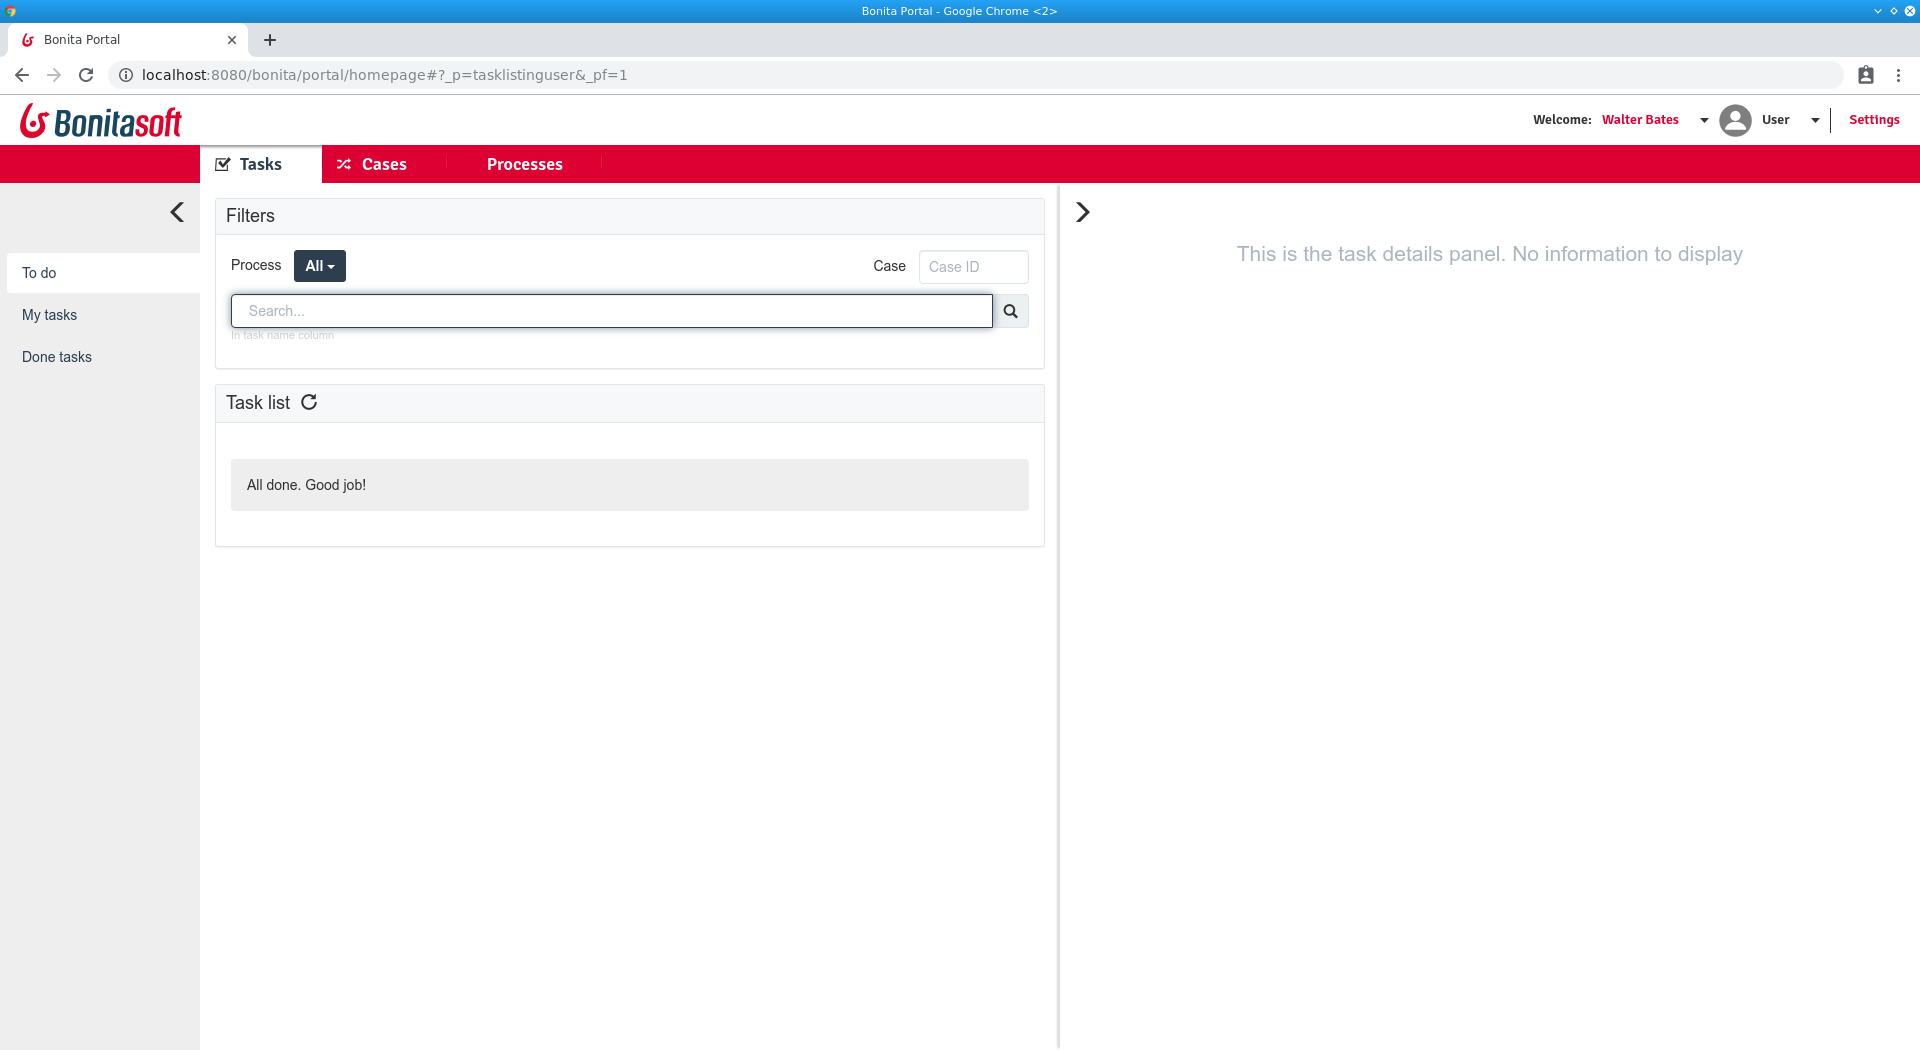
To make sure that everything is properly installed, click on the Portal button ![]() in the toolbar. This should open the Bonita Portal home page in your web browser:
in the toolbar. This should open the Bonita Portal home page in your web browser:
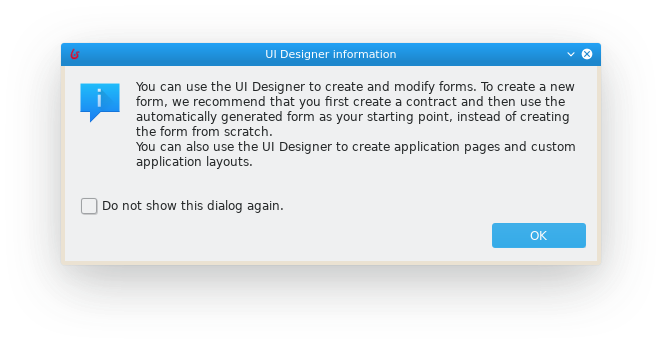
Also click on the UI Designer button ![]() in the toolbar. This will display a pop-up window that you can ignore:
in the toolbar. This will display a pop-up window that you can ignore:
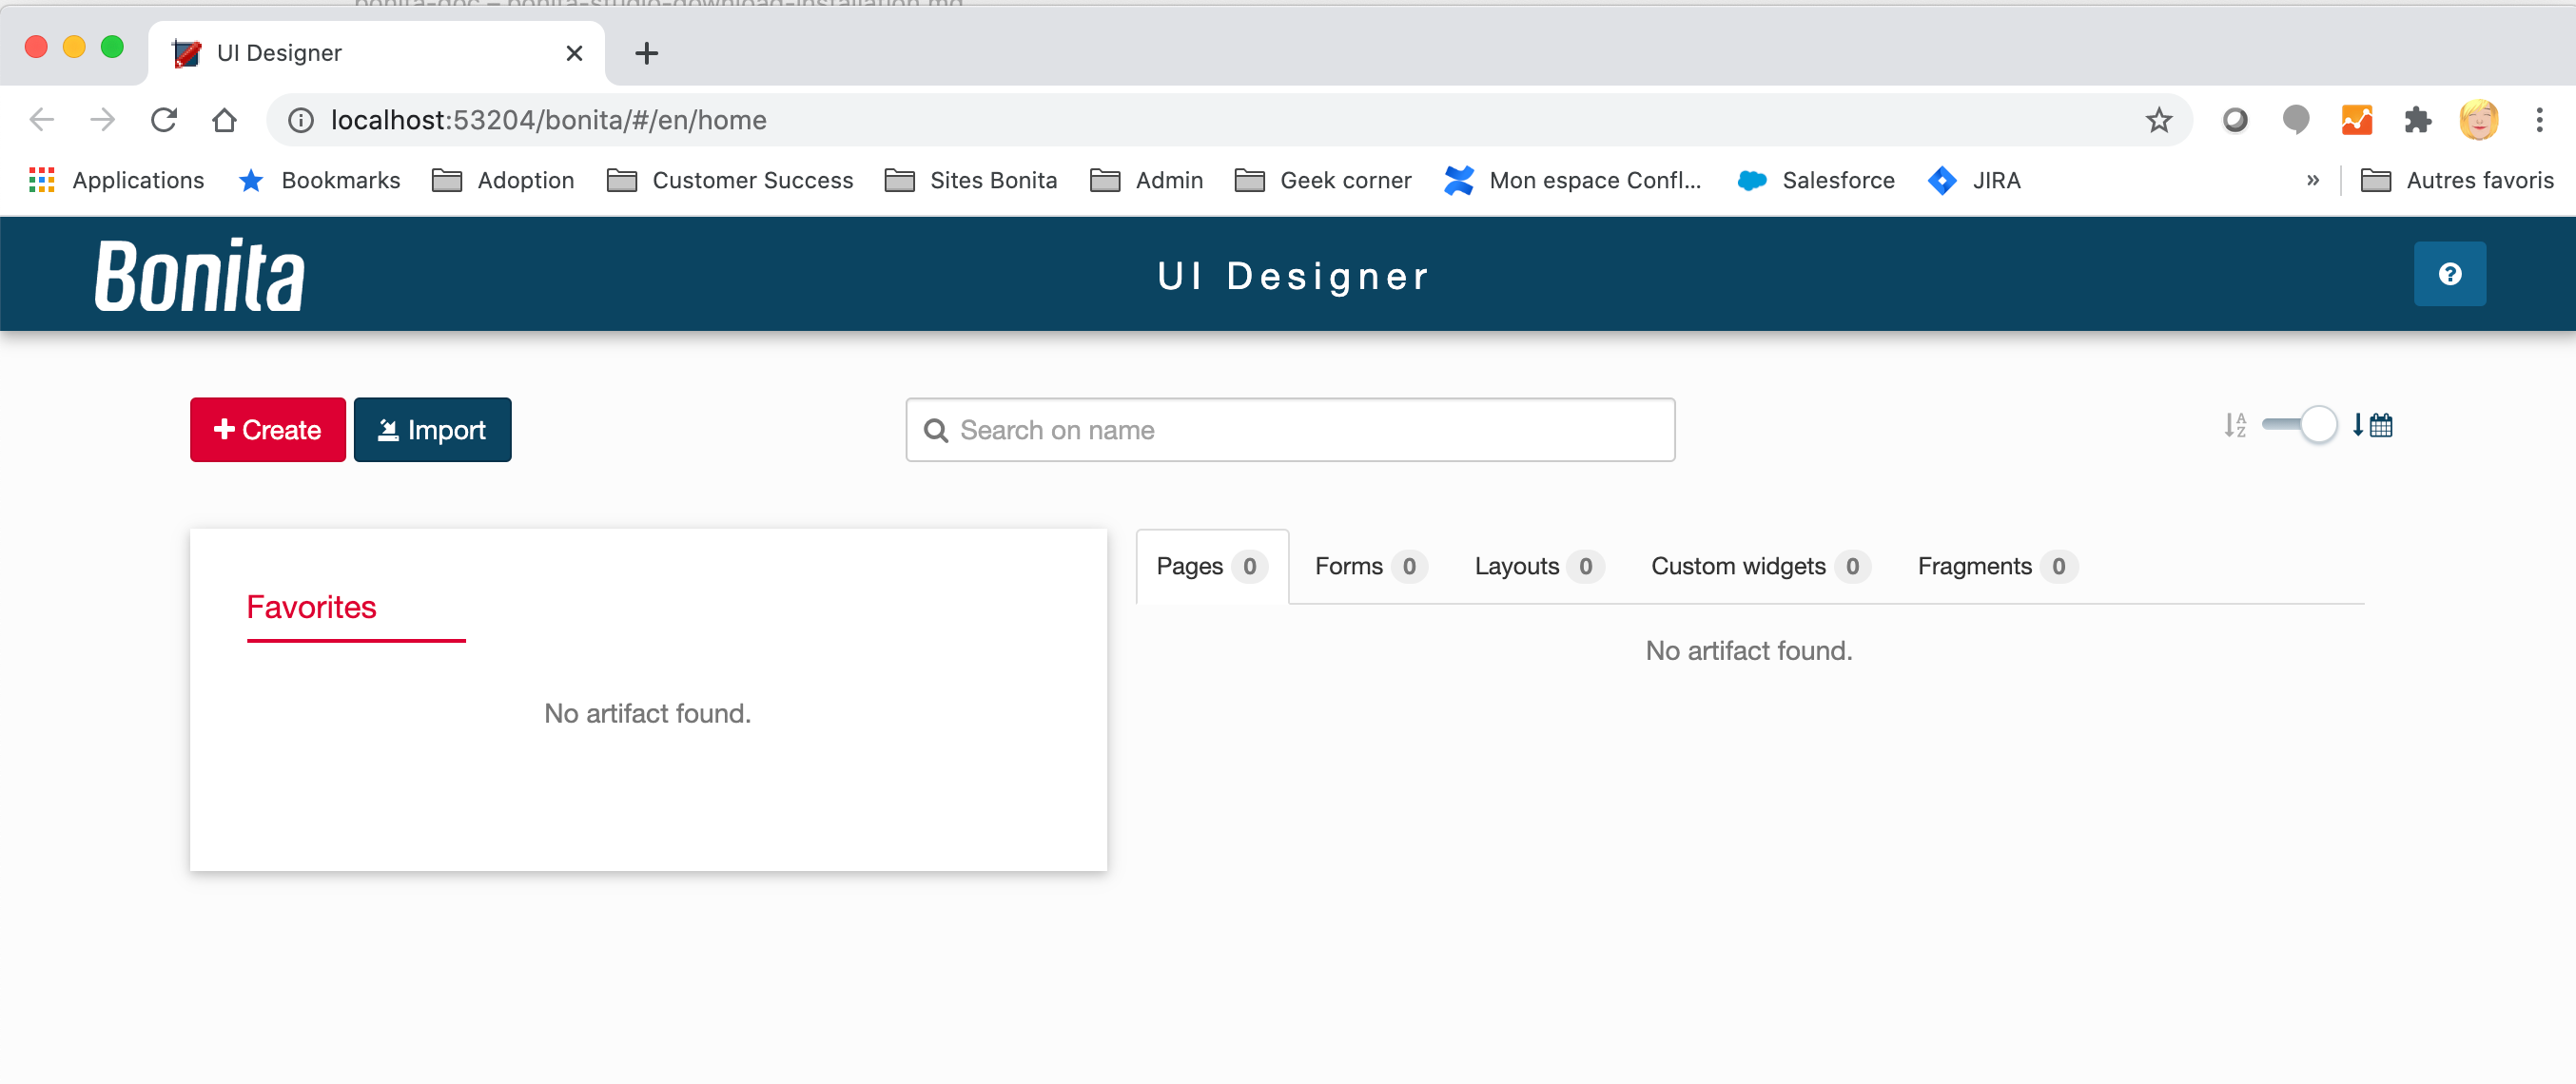
And the UI Designer should open in your web browser:
Ready to move on
You have successfully installed Bonita Studio, and the tools and test environment are up and running. You are ready to move to the next chapter to start creating your first process.