Resources management
This page defines the term "Resources" and explains what a user with the Administrator profile in Bonita Portal can see and do about resources.
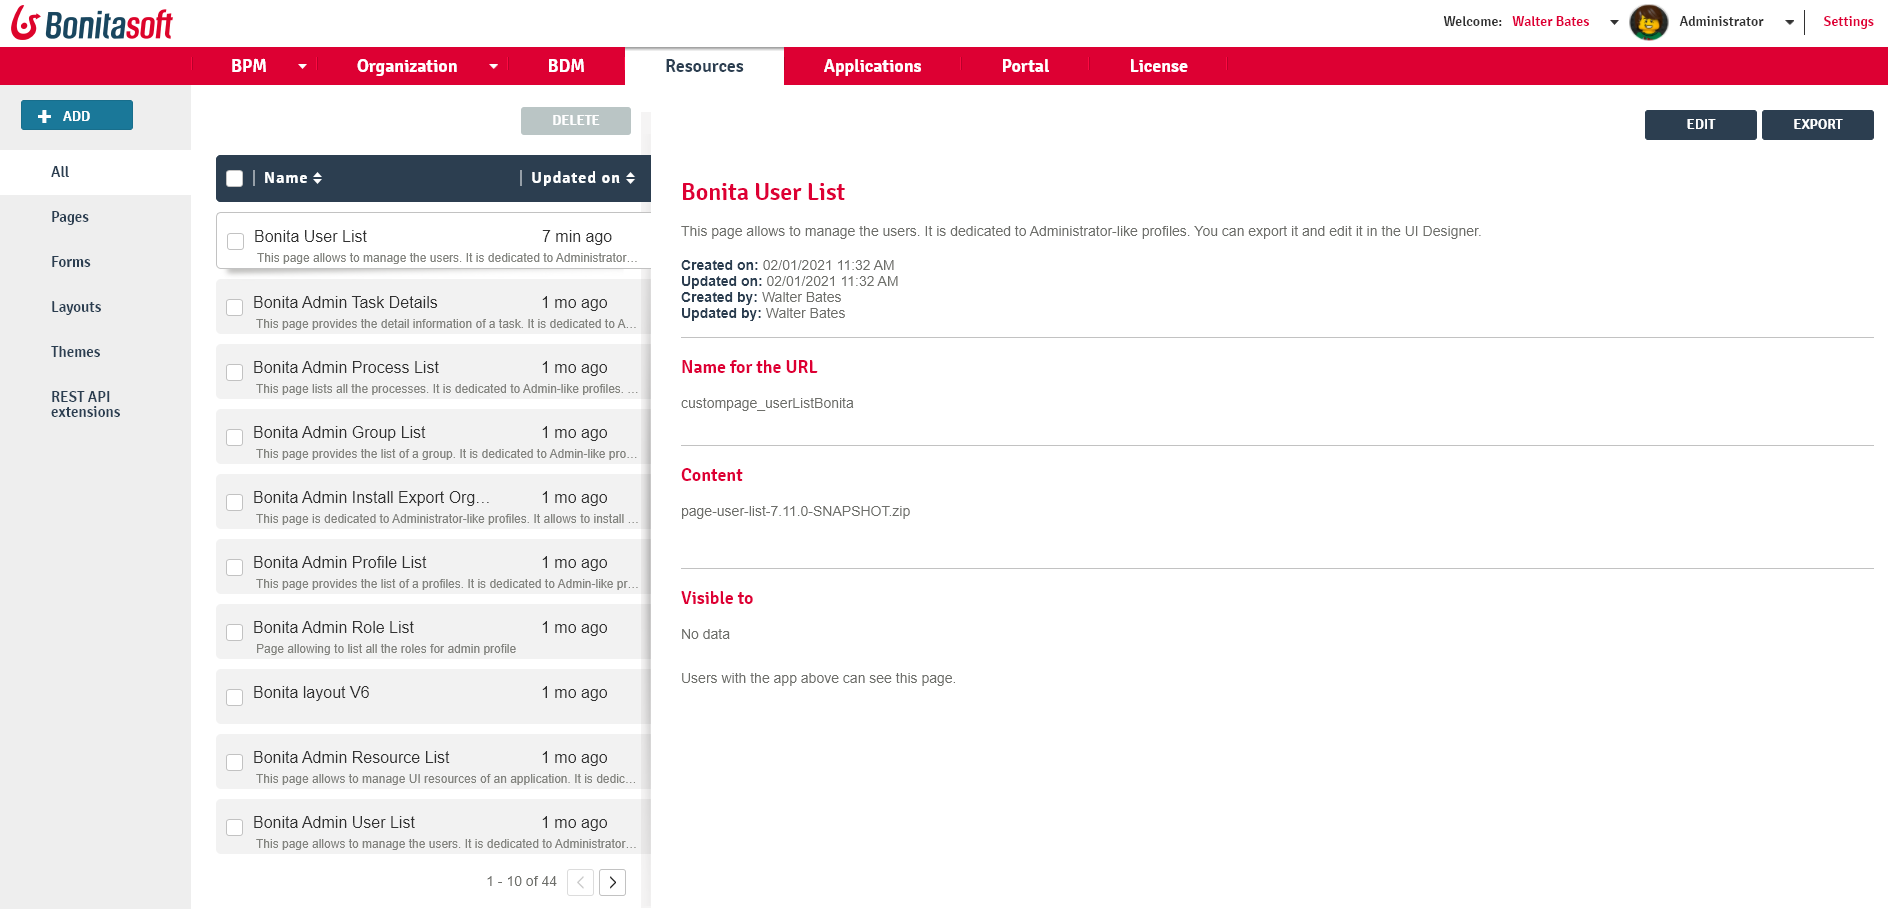
Administrators can view a list of the resources filtered by type, install new resources, update existing resources, or delete resources.
Here is a view of the page:
Resource definition
A resource is deployed in Bonita Portal to create the User Interface of a Living Application: it can be a page, a layout, a theme, a REST API extension, or a form that will be used by several processes so it is better to store it at platform level than within the process .bar file.
A resource is packaged as a .zip archive that contains a page.properties file, a resources directory and an index file.
-
The
page.propertiesfile contains the metadata for the page.
For example:
#The name must start with 'custompage_'
name=custompage_layout
displayName=Application layout page
description=This is a layout page dedicated to new born living applications. It is created and editable using the UI designer. It allows to display an horizontal menu, and an iframe. The menu allows to target some pages and the iframe define the area to display those targeted pages.
resources=[GET|living/application,GET|living/application-page,GET|living/application-menu]
contentType=layout-
The
resourcesdirectory contains all the public files of your resource (for exampleindex.md, images, Javascript files, CSS files). -
Except for REST API extensions, the zip archive must contain at least one of the following files:
-
An
index.htmlfile in theresourcesdirectory -
An
Index.groovyclass at the root of the archive with, optionally, libraries -
A
resources/theme.cssfile for applications themes
-
If a resource contains both Index.groovy and index.html, the Groovy class takes precedence.
|
To insert line breaks in a page.properties file, end the line that precedes the line break with a For more information on advanced properties file (line break, natural lines, logical lines…) please refer to the official documentation |
Permissions for resources
If your resource needs to perform requests to Bonita REST API,
you need to specify the REST API authorizations that a user needs to have in order to access those API.
These permissions are defined in the page.properties file. If your resource is a page written in Groovy and uses the Bonita Engine Java APIs, you do not need to specify permissions.
For each REST resource accessed in other resources, specify the authorization needed for each method used.
You can find examples of the default resources in resources-permissions-mapping.properties.
When a user is given access to a page/layout because they are in a profile that contains it or that is mapped to an application that contains the page/layout, then this user is granted, upon login, the permissions associated to these REST resources (see REST API authorizations for more details).
The following example shows the permissions defined for a page that enables a user to view but not update organization information:
#The name must start with 'custompage_'
name=custompage_orgViewer
displayName=Organization viewer
description=Organization viewer page. You cannot modify the organization from this page.
resources=[GET|identity/user, GET|identity/personalcontactdata, GET|identity/professionalcontactdata, GET|identity/role, GET|identity/group, GET|identity/membership, GET|customuserinfo/user, GET|customuserinfo/definition, GET|customuserinfo/value]
contentType=page
Add a resource
To add a resource onto Bonita Portal, import a .zip archive that contains the resource definition.
To do so:
-
Go to Resources. You will see the list of all resources, and a filter for each type of resource ("Page", "Form", "Layout", "Theme" and "REST API extension").
-
Click on Add.
-
In the Archive field, specify the .zip archive to be added. Click in the field, then specify the location and filename in the popup.
-
Click on Next.
-
Review the permissions needed to view this page.
-
Click on Confirm.
The resource is installed.
If you have specified a resource permission that is not defined in the REST API authorization configuration and REST API authorization is configured to be on, you will see an error message.
After a resource is installed, it can be used in an application.
|
As the deployment of resources automatically creates the appropriate resource permissions mapping, be careful not to push a configuration that does not contain the latest permissions updates. This would overwrite the deployed configuration. To avoid doing so, pull the latest configuration, edit the needed elements and push it back to Bonita Runtime in a pretty short amount of time. |
Export a resource
You can export a resource from Bonita Portal. The page is exported as a .zip archive. To do so:
-
Go to Resources. You will see the list of all resources, and a filter for each type of resource ("Page", "Form", "Layout", "Theme" and "REST API extension").
-
Select the page you want to export.
-
Click on Export.
-
In the popup, specify the name and location for the exported zip archive, and click on OK.
The .zip archive is exported to the location you specified.
Edit a resource
To edit a resource in Bonita Portal, upload a .zip archive containing the new version.
To do so:
-
Go to Resources. You will see the list of all resources, and a filter for each type of resource ("Page", "Form", "Layout", "Theme" and "REST API extension").
-
Select the page you want to update.
-
Click on Edit.
-
To upload a new resource definition, click in the "Page archive" field and specify the new .zip archive to import.
-
Click on Next.
-
Review the permissions needed to view this page.
-
Click on Confirm.
The resource is edited.
Delete a Resource
To delete a resource:
-
Go to Resources. You will see the list of all resources, and a filter for each type of resource ("Page", "Form", "Layout", "Theme" and "REST API extension").
-
Check the checkboxes of the pages you want to delete.
-
Click on Delete.
The selected resources are deleted.
|
Note: Either all the selected resources are deleted, or no resources are deleted. If you have selected a page, a layout or a theme that are used in an application or a custom profile, you will see an error message listing these resources and the User Interfaces where they are used. In this case, none of the pages you selected is deleted. |