Bonita Studio installation
This page describes how to download and install Bonita Studio on Windows, Linux, or Mac operating systems.
Bonita Studio download
Prerequisites
Check the hardware and software requirements.
Community edition
To download the latest version of Bonita Studio Community edition, open the download page and click on the Download button. This will start the download of the Bonita Studio installer for your operating system.
When the download is finished, you should have one of the following files on your computer (x.y refers to the version of Bonita Studio, e.g. 2025.2):
-
Windows:
BonitaStudioCommunity-x.y-x86_64.exe -
macOS:
BonitaStudioCommunity-x.y-x86_64.dmg -
Linux:
BonitaStudioCommunity-x.y-x86_64.tar.gz
Subscription edition
Subscription editions cover the now unique Enterprise editions, but also the Performance, Efficiency, and Teamwork editions that are no longer sold but still supported at Bonitasoft.
To download the latest version of Bonita Studio Subscription edition, go to the Customer Service Center and request the download of the version you need.
When the download is complete, you have one of the following new files:
-
Windows:
BonitaSubscription-x.y.z-x86_64.exe -
macOS:
BonitaSubscription-x.y.z-macOs.dmg -
Linux:
BonitaSubscription-x.y.z-x86_64.tar.gz
You are now ready to start the installation process.
Bonita Studio installation
Installation using a wizard
To run the installer for Windows, macOS or Linux, double-click on the file you downloaded.
Then follow the installation wizard through to the end of the installation procedure:
-
Select installation language: this will be used for the installation process
-
Welcome message: click on Next
-
License agreement: you need to accept this to continue
-
Installation directory: make sure the path is quite short and the directory is empty The default installation directories are:
-
Windows:
C:\BonitaStudioCommunity-x.y -
macOS:
/Applications/BonitaStudioCommunity-x.yMacOS applies strict security restrictions to the
/Applicationsdirectory, which can prevent Docker from modifying files inside it. To avoid permission issues with features like UI Builder:-
Option 1 (Recommended): Install Bonita Studio in a different directory during the installation process (for example
~/BonitaStudioCommunity-x.yor~/Documents/BonitaStudioCommunity-x.y). This ensures both the Studio and its internal Docker operations can run without elevated permissions. -
Option 2: If Studio is already installed in
/Applications, make sure your workspace is located outside of/Applications(for example in~/bonita-workspace).
-
-
-
Confirmation that installation is about to start: click on "Next"
-
Actual installation: wait a little bit
-
License request. For the Subscription edition only. If you do not have your licence file ready, you can skip that; Bonita Studio will request the license at first start.
-
You’ll see a confirmation message that offers the option to start Bonita Studio. Choose to launch Bonita Studio and click on Finish
-
A "thank you for downloading" page will be displayed in your web browser, with important getting starting information.
License
This information applies to the Subscription editions. No license is needed for the Community edition.
When you install or launch Bonita Studio for the first time, you need to install a license:
-
From the installer, click Copy to clipboard to copy the request key generated specifically for your Bonita Studio
-
Go to the Customer Service Center and request a license using the request key in the clipboard
-
Wait a few seconds to get the file from the license page, or check your email box (after a few minutes) and open the email from
no-reply@bonitasoft.com -
Download the license file (.lic)
-
Go back to your Bonita Studio, click Install license…, and select your .lic file.
Embedded Java
Since 2024.1, all Bonita Studio packages come with an embedded Java runtime. It uses Eclipse JustJ behind the hood.
| This Java runtime is only used inside a Bonita Studio. When trying to build and run a Bonita project outside the Studio, make sure to have a compliant Java Runtime version. |
First Bonita Studio execution
To start Bonita Studio, go to the directory where you installed it, and run the launcher for your operating system.
Community edition
-
Windows:
BonitaStudioCommunity.exe -
macOS:
BonitaStudioCommunity.app -
Linux:
BonitaStudioCommunity
Subscription edition
-
Windows:
BonitaStudioSubscription.exe -
macOS:
BonitaStudioSubscription.app -
Linux:
BonitaStudioSubscription
Now Bonita Studio should be running on your computer.
If not, you can manually start it by using the installed shortcut or by using the Bonita Studio executable file from the installation folder.
Installation validation
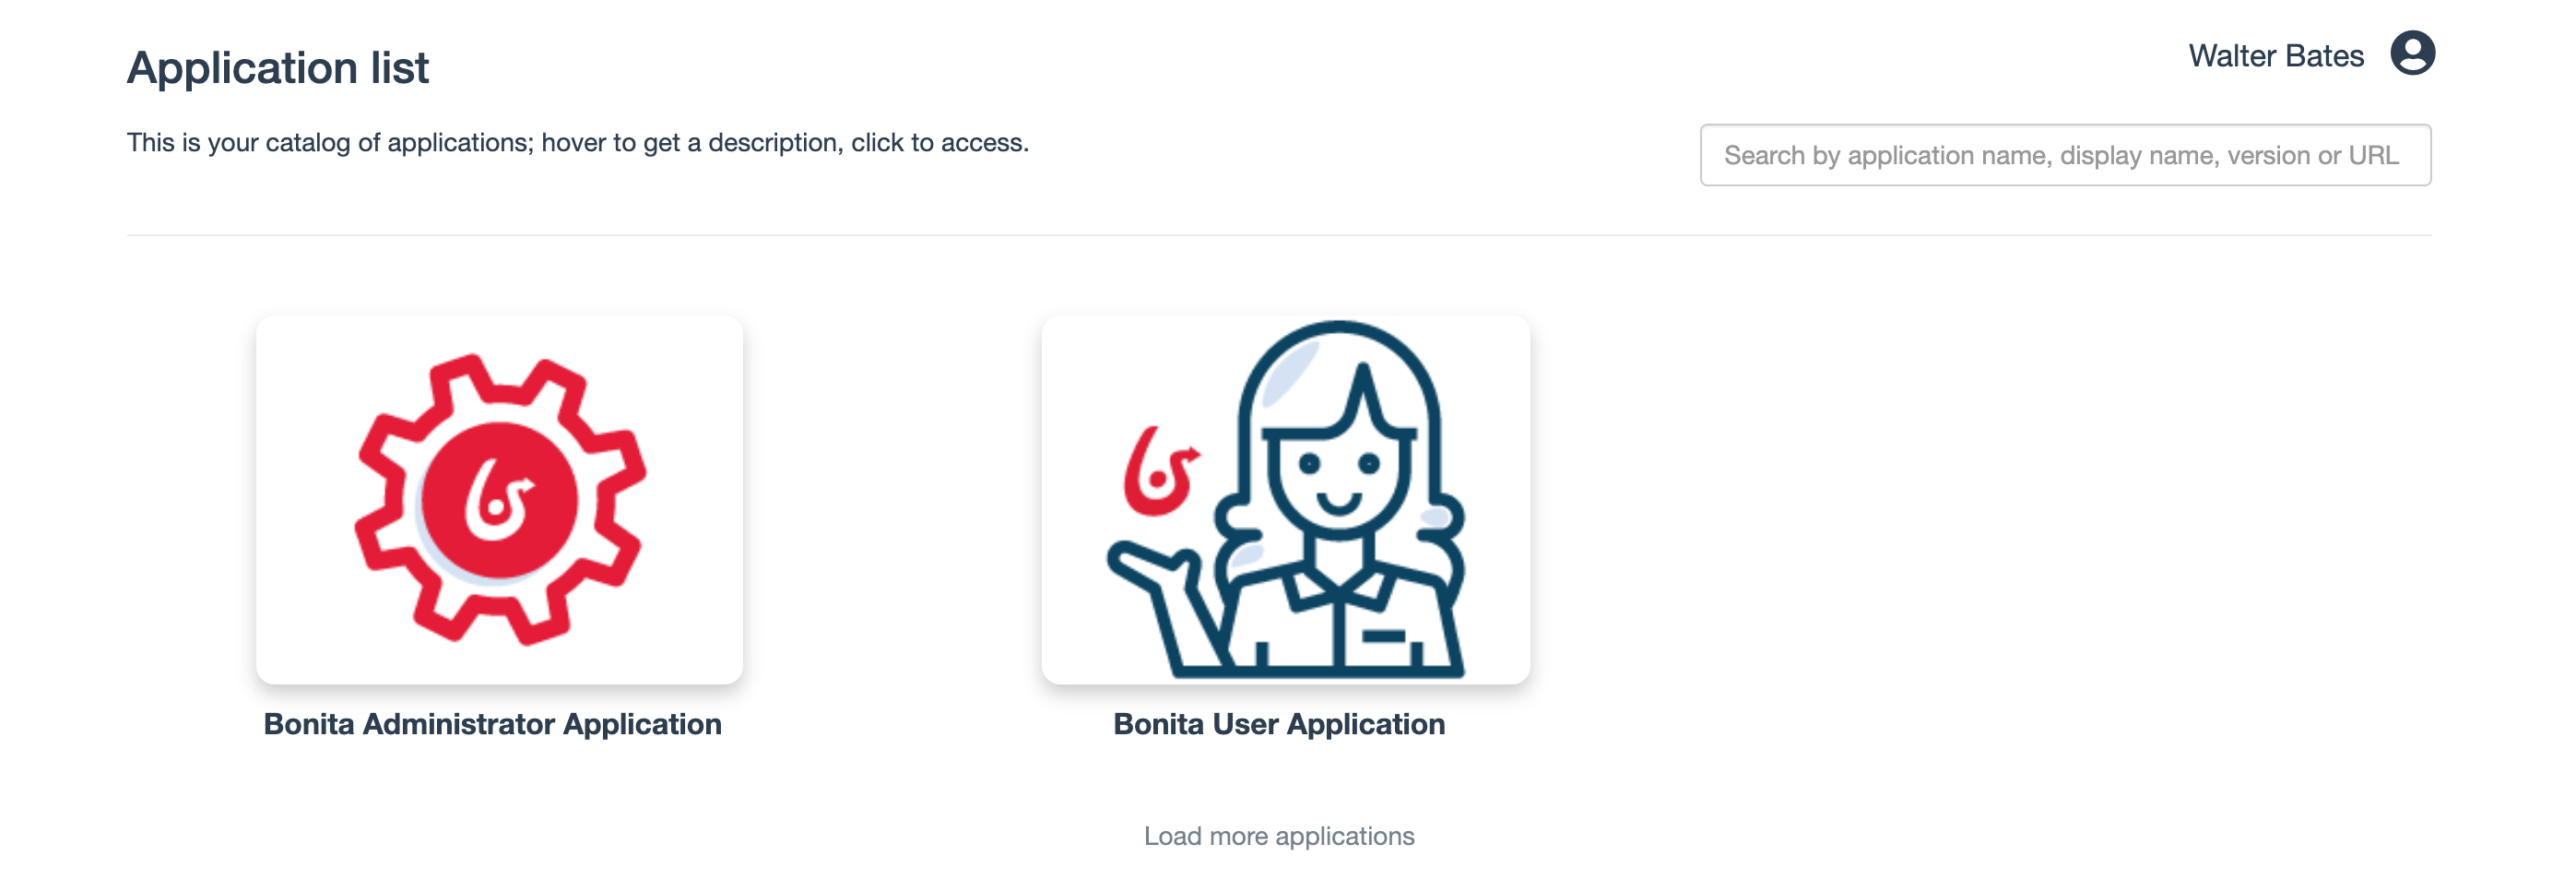
To make sure that everything is properly installed, you may create a new project from the Welcome Page or the File menu. Once the project initialized, click on the Applications button in the toolbar. This should open the Bonita Application Directory in your web browser:
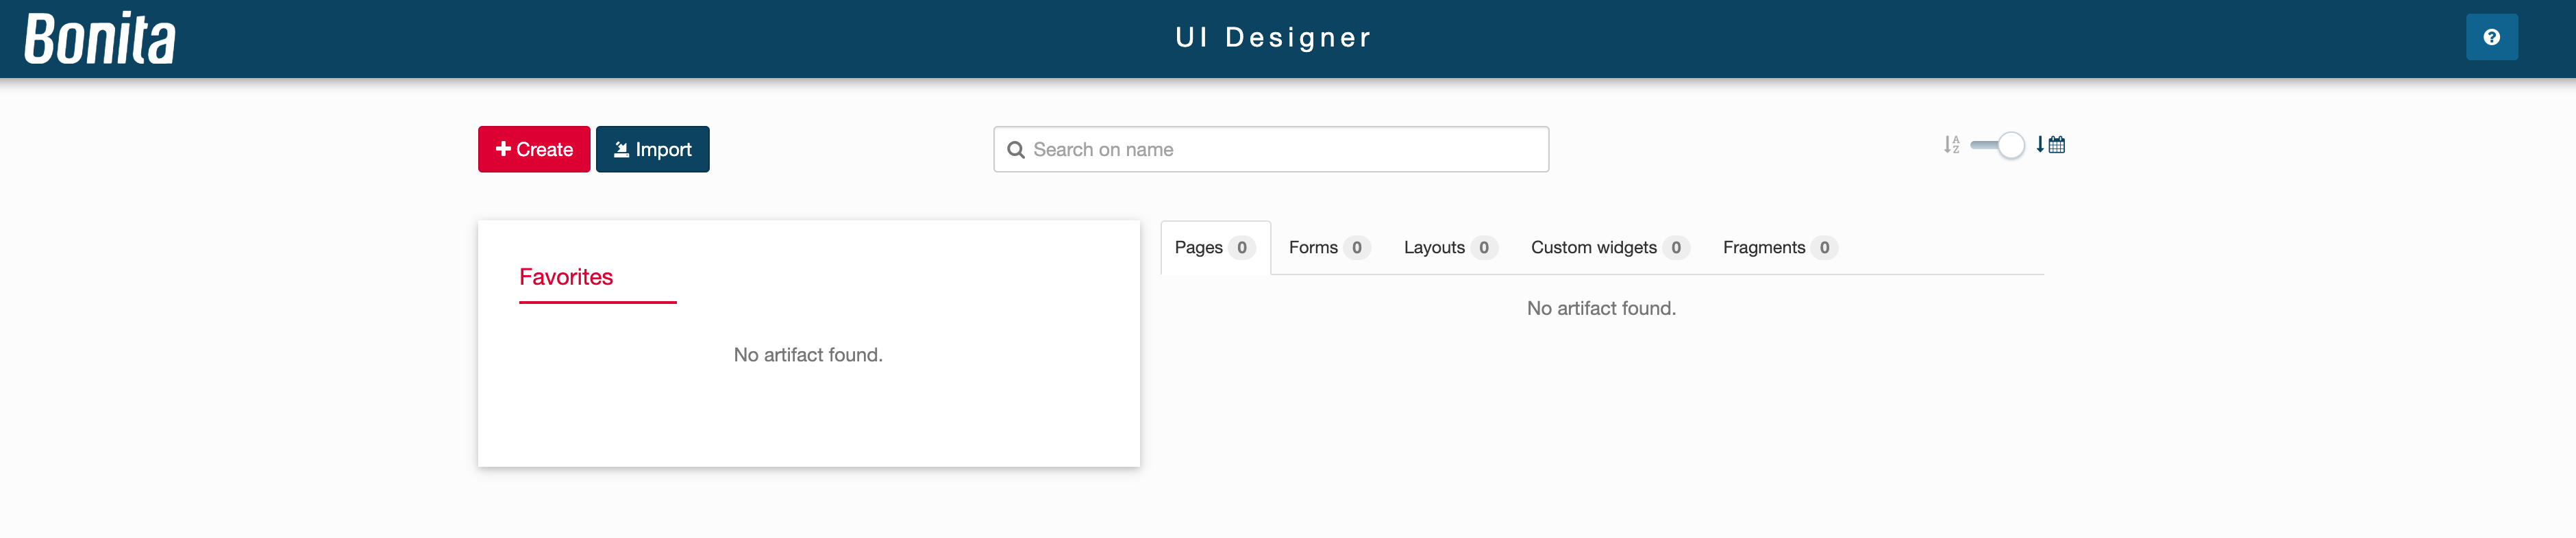
Also click on the UI Designer button in the toolbar to check that the UI Designer is ready to use:
You are also ready to download and start using Bonita UI Builder. Check out our dedicated guide to see how.